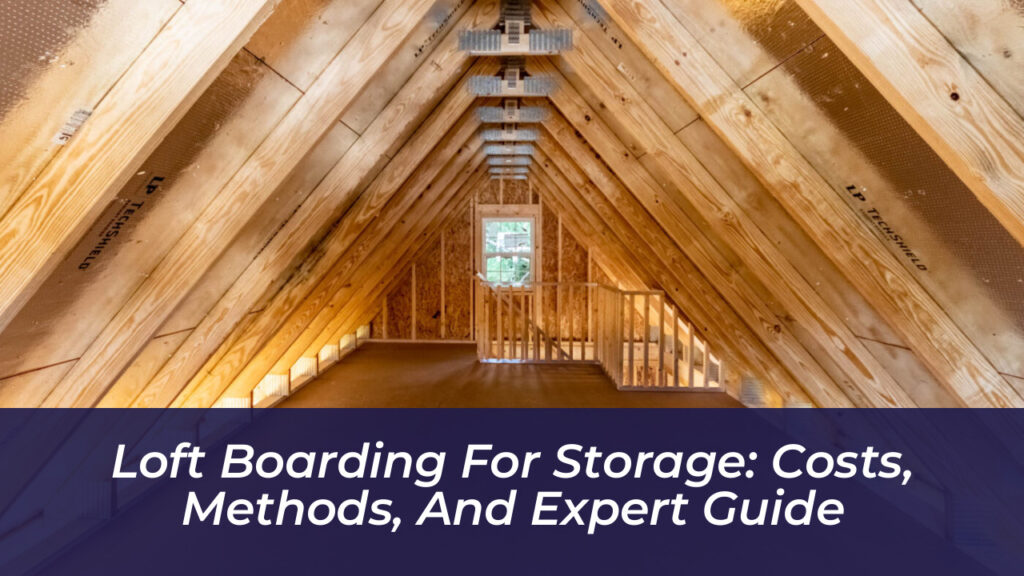
Turning an empty attic into a storage area is one of the smartest ways to clear out a cluttered home. Instead of cramming boxes into a garage or spare bedroom, you can use the space right above your head. However, creating a safe, stable floor requires more than just laying down plywood. It takes careful planning to protect your ceiling, keep your insulation working, and ensure your home stays energy-efficient.
Structural Limits
Before buying materials, look at how your loft is built. Most residential ceilings are designed only to hold the weight of plasterboard and the occasional person moving carefully along the joists. They are not meant to support the heavy, concentrated load of boxes and bins. If you fix boards directly to these joists, you risk bowing your ceilings or cracking the plaster below.
The standard fix is a raised sub-frame. By installing timber beams perpendicular to your existing joists, you create a grid that spreads the weight across the walls of the house. This method also creates the necessary clearance to keep your insulation “fluffy.”
Why Insulation Needs Room to Breathe
Modern homes rely on thick layers of mineral wool or fiberglass to trap heat. If you board directly over this, you squash the material, which can cut its effectiveness by up to 50 percent. , insulation needs airflow to stay dry. Compressing it creates cold spots where condensation can settle, eventually leading to dampness and rot in your ceiling joists. A raised system keeps the insulation performing as it should while providing a solid, level floor for your belongings.
Methods of Loft Boarding
There are three common ways to board a loft, ranging from quick fixes to professional-grade structural floors.
- Direct Boarding: Screwing boards directly to ceiling joists. This is not recommended, as it risks damaging your ceiling and ruins your insulation’s thermal performance.
- Raised Timber Sub-frame: Building a wooden grid above the joists. This is the most robust method, offering high strength and plenty of space for deep insulation.
- Proprietary Plastic Leg Systems: These use engineered plastic stilts that clip onto your joists. They are lightweight, easy to install, and designed specifically to keep boards elevated above the insulation layer.
Cost Breakdown: What to Expect
Costs depend on the size of your loft, the materials you choose, and whether you decide to do the work yourself. For a typical semi-detached home, you are likely boarding between 15 and 20 square meters of space.
| Category | Estimated Cost Range |
|---|---|
| DIY Materials (Timber + Boards) | $300 – $600 |
| Professional Installation (Labor + Materials) | $1,200 – $2,500 |
| Loft Ladder & Hatch Upgrade | $200 – $500 |
Professional installers handle the heavy lifting, including moving insulation, building the frame, and cutting tongue-and-groove boards to fit around roof trusses. While DIY is cheaper, professional installation ensures the floor is perfectly level and structurally sound, usually in just one day.
Essential Considerations Before You Start
Check your local building regulations before picking up a hammer. While basic storage boarding is usually permitted, converting a loft into a “habitable room” involves strict rules regarding fire safety, stairs, and weight-bearing capacity.
Access and Safety
If your ladder is shaky or difficult to pull down, you won’t use the space. Invest in a sturdy, spring-assisted telescopic or folding ladder. If your existing hatch is too small, widening it makes moving storage bins much easier. Finally, install LED lighting-motion-sensor battens are perfect for attics because they stay cool and provide bright, clear visibility without the fire risk of older bulbs.
Managing Weight
Your attic isn’t a place for heavy furniture or dense, bulky items. Always store your heaviest boxes directly over the load-bearing walls of the house rather than in the center of the floor span. Keep a clear path to the hatch and avoid stacking items so high that they block the ventilation gaps at the eaves.
Avoiding Common Mistakes
Use dedicated loft flooring panels rather than standard chipboard. Loft boards feature tongue-and-groove edges that lock together for a flat, seamless finish. Using square-edged boards often results in uneven gaps that can snag boxes or create tripping hazards.
Also, don’t ignore the loft hatch. A poorly sealed hatch acts like a chimney, pulling warm air from your living room into the cold attic. This causes heat loss and can lead to condensation on the underside of your roof tiles. Install a draft-proof, insulated hatch cover to keep your home’s thermal envelope intact.
Maintaining Your Attic Environment
Once the space is ready, check on it every six months-especially after winter. Look for signs of damp, pests, or any shifting in the floor. Because attics experience drastic temperature swings, avoid storing items sensitive to heat or cold, such as vinyl records, electronics, or delicate fabrics, unless you use climate-controlled storage bins. A well-installed loft floor is a lasting upgrade that keeps your home organized and energy-efficient for years to come.