
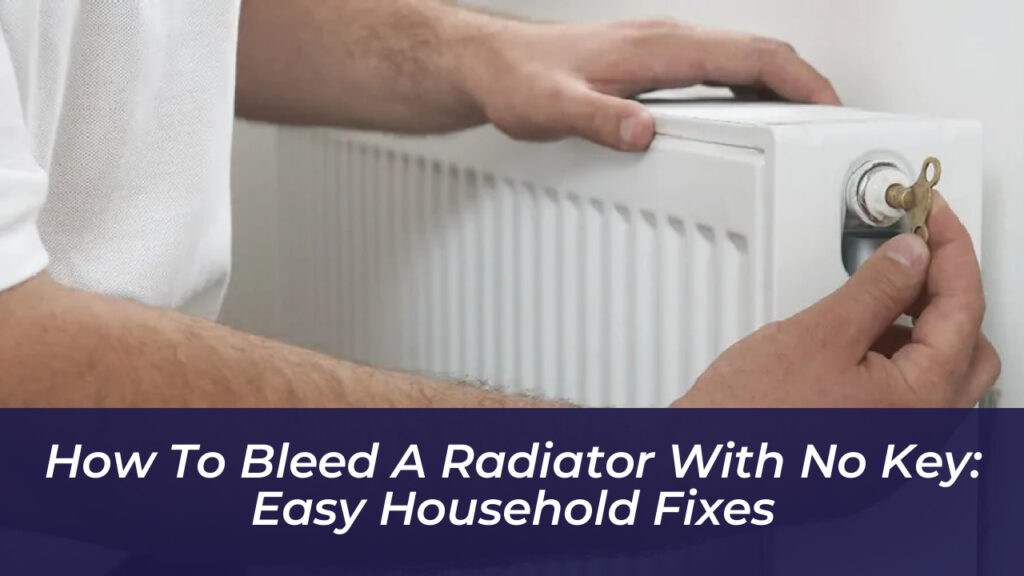
Walking into a chilly room in the middle of winter only to find your radiator stone cold at the top and lukewarm at the bottom points to a single culprit: trapped air. When air pockets take up residence inside your heating units, they block hot water from circulating freely, forcing your boiler to work twice as hard while driving up your energy bills.
Solving this problem normally requires a small, square radiator key. But when that specialized tool has vanished into the back of a junk drawer, you do not need to sit in the cold or call an expensive plumber. With a bit of care and the right household substitute, you can easily purge the trapped air and restore full warmth to your home.
Recognize Your Radiator Valve Type
Before you start poking around your heating system with random tools, take a close look at the bleed valve. Radiators come in various designs, and matching your substitute tool to the correct valve geometry is critical to avoid stripping the metal.
- Slotted Screws: Many older and modern radiators feature a simple flathead screw design with a straight groove running right across the center.
- Mini Hex Nuts: Common in systems over thirty years old, these valves feature a tiny hexagonal recess that looks like it requires a miniature Allen wrench.
- Square Protrusions: Some units feature a protruding square bolt head rather than an internal socket, which can be gripped from the outside.
radiator bleed valve flathead screwdriver plumbing repair
Choose the Right Household Substitute
Once you have identified your valve type, you can select the appropriate substitute tool from your toolbox or kitchen drawer. Using the wrong tool can round off soft brass fittings, transforming a simple fix into a major repair job.
Flathead Screwdrivers
If your bleed valve features a straight slot, a small flathead screwdriver works well. Choose a driver that fits snugly inside the groove. If the tip wobbles or feels loose, wrap a small rubber band or a piece of cloth around the flathead to create friction and prevent slipping.
Allen Keys
For recessed hexagonal valves, a metric Allen key, typically 2mm or 2.5mm, is the exact tool required. Never attempt to force a flathead screwdriver into a hex socket, as you will instantly strip the soft metal edges and make future bleeding nearly impossible.
Pliers or Adjustable Wrenches
If your radiator features a protruding square nut rather than an internal slot, reach for a pair of needle-nose pliers or a small adjustable wrench. Clamp the tool firmly onto the outside of the nut, ensuring a secure grip before attempting any rotation.
Step-by-Step Guide to Bleeding Your Radiator
With your alternative tool selected and a towel in hand, you are ready to tackle the bleeding process. Follow these steps to ensure a safe, mess-free procedure.
1. Turn Off Your Heating System
Never attempt to bleed a radiator while your central heating is actively running. Turn off the system completely and give the radiators at least thirty to forty-five minutes to cool down. Running systems are heavily pressurized and contain scalding water that can spray violently if a valve is opened prematurely.
2. Prepare Your Workspace
Water mixed with system rust can easily stain carpets and wood flooring. Place a thick towel directly beneath the bleed valve and hold a small cup or bowl right under the outlet to catch any rogue drips.
3. Open the Valve Slowly
Insert your chosen tool-whether it is a flathead screwdriver, Allen key, or pliers-into the valve. Turn the tool counterclockwise very slowly. You only need a quarter-turn or a half-turn at most. You should immediately hear a distinct hissing sound, which indicates that the trapped air is escaping.
4. Watch for Water
Keep the valve open while the hissing continues. Eventually, water will begin to sputter and then run in a steady stream from the outlet. This transition proves that all the trapped air has been successfully purged, and the radiator is now entirely filled with water.
5. Close and Secure the Valve
Quickly turn your tool clockwise to close the valve. Tighten it firmly, but exercise restraint. Over-tightening can crack the delicate valve threads or snap the stem, leading to persistent leaks. A firm, snug seal is all you need. Wipe away any moisture around the fitting with your towel.
Post-Bleeding System Checks
Once you have finished bleeding all the radiators in your home, walk back to your boiler and inspect the pressure gauge. Releasing air and water from the system invariably causes overall pressure to drop. If the needle has fallen below the recommended manufacturer range-usually between 1 and 1.5 bar-use the filling loop to top the system back up. Turn your central heating back on and enjoy the returning warmth of an efficiently balanced heating system.