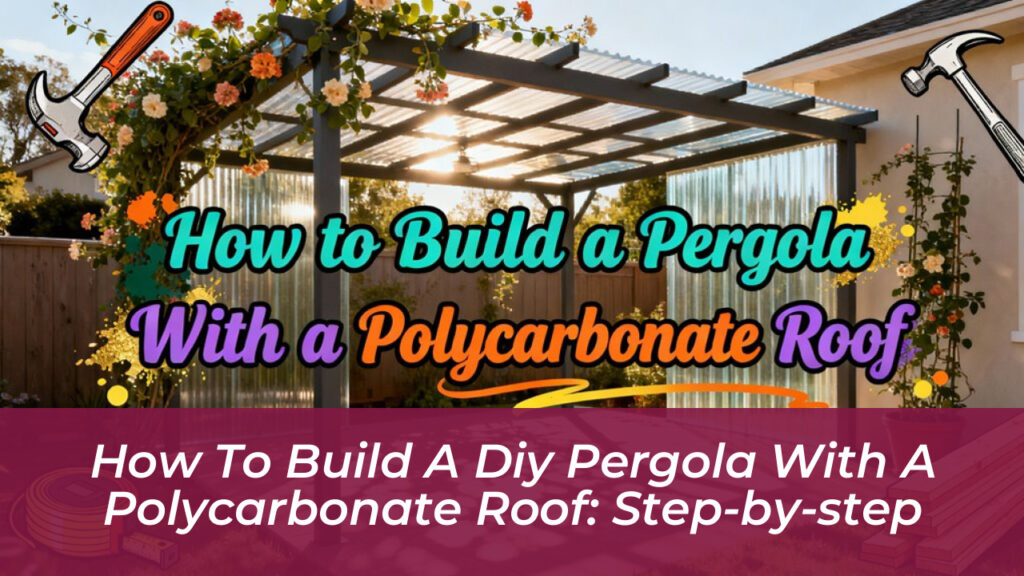
Adding a roof to your pergola turns an open-air structure into a reliable retreat. While slatted designs look beautiful, they leave you vulnerable to sudden rain and harsh midday heat. A polycarbonate roof keeps that airy, sun-drenched feel while creating a dry space for grilling, dining, or simply sitting outside. This project is manageable for a skilled DIYer, provided you respect the structural needs and handle the materials with care.
Why Polycarbonate?
Polycarbonate is a favorite for outdoor roofing because it balances toughness with light transmission. Unlike glass, it won’t shatter if a heavy branch falls on it, and it’s light enough to handle easily. It stands up to wind and hail, and you can choose from clear, bronze, or opal tints to manage how much heat and glare hits your patio.
You’ll generally choose between two styles:
- Corrugated Panels: These are budget-friendly and easy to install. Their wavy shape sheds water quickly, making them perfect for a classic, functional roof.
- Multi-wall Panels: These have a hollow, honeycomb interior. They offer better insulation and a sleek, modern look, which is ideal if you want to use your pergola during cooler months.
Essential Tools and Materials
Gather these supplies before you start to keep the project moving smoothly:
- Polycarbonate Panels: Corrugated or multi-wall depending on your needs.
- Framing Lumber: Pressure-treated posts and beams for the skeleton.
- Fasteners: Stainless steel screws with neoprene or rubber washers for a watertight seal.
- Closure Strips: These fill the gaps between corrugated panels and the support beams.
- Glazing Bars and U-Channels: Used to secure the edges of multi-wall panels.
- Power Tools: Variable-speed drill, circular saw with a fine-tooth blade, and a measuring tape.
- Safety Gear: Sturdy gloves, safety glasses, and a reliable ladder.
Site Preparation and Slope
Your pergola needs to be sturdy enough to carry the weight of the roof, especially if you live where it snows. If you are building from scratch, anchor your posts deep in concrete. If you are retrofitting an existing pergola, check the rafters for rot. If your rafters are more than 24 inches apart, add extra support beams, or “purlins,” to keep the panels from sagging.
Water needs a place to go. Manufacturers recommend a pitch of at least 5 degrees-roughly 1 inch of drop for every foot of length. If your pergola is currently flat, you can create this slope by screwing tapered furring strips onto the top of your existing rafters. This subtle tilt prevents water from pooling, which is the number one cause of leaks.
Installation Steps
Once your frame is ready, the work moves quickly. If using corrugated panels, screw your closure strips to the rafters first. These strips give the panels a solid surface to sit on. Lay the panels down with the UV-protected side facing up-check the manufacturer’s label-and overlap them by at least one full wave to keep the rain out.
For multi-wall panels, you will use glazing bars. These bars sit on the rafters and grip the edges of the panels, allowing the material to expand and contract as the temperature changes. Always seal the open ends of these panels with breather tape and aluminum U-channels; this stops condensation from building up inside the cells and turning green with algae.
Fastening and Handling Tips
Polycarbonate scratches easily. Keep the protective film on the sheets until the very last second. When you drill your screw holes, make them about 10% wider than the screw shank. This “oversized” hole gives the plastic room to expand in the summer heat without cracking.
When driving screws, use a light touch. You want the rubber washer to be snug against the panel, but don’t crush it. If you over-tighten, you’ll dimple the plastic and create a stress point that will eventually crack. If you are working alone, lay a board across the rafters to distribute your weight instead of stepping directly on the panels.
Maintenance and Longevity
Keep your roof clean by rinsing it with a garden hose occasionally. Clear off fallen leaves and twigs, as rotting debris can trap moisture and break down your seals over time. Avoid harsh chemicals or scrubbers, which will strip away the UV-resistant coating.
If you spot a leak after a storm, a dab of exterior-grade silicone usually fixes it. If you find your panels are rattling, check your fastener spacing-you likely just need a few more screws or a tighter fit with your closure strips. With a little patience during the build, you’ll have a roof that keeps your outdoor space dry for years to come.