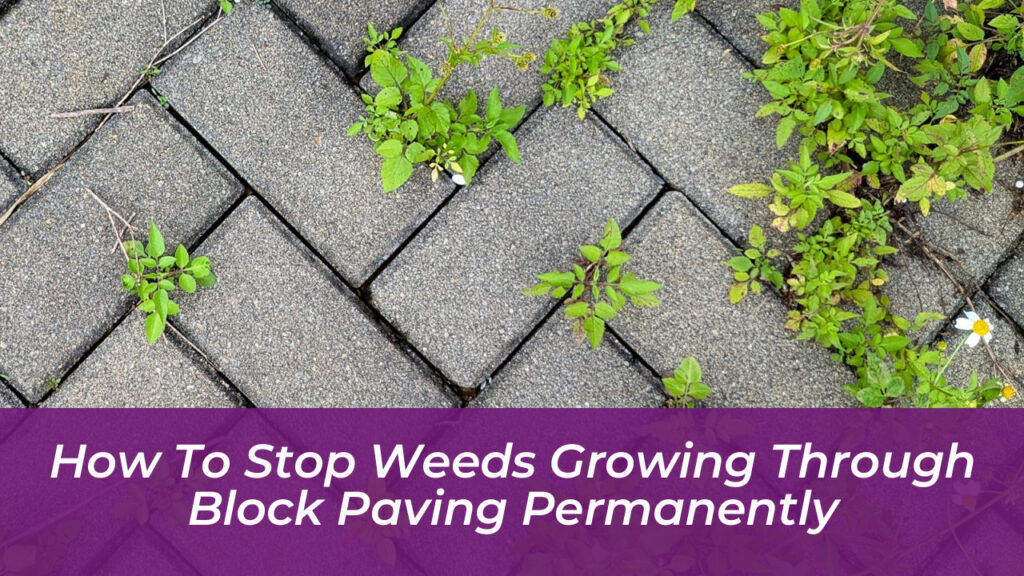
Block paving lends an unmistakable touch of elegance to driveways, pathways, and patios. Yet, watching persistent weeds poke through pristine gaps can test the patience of any homeowner. These unwanted invaders do not merely ruin the clean aesthetic of your hardscaping; left unchecked, their expanding root systems can displace individual blocks, compromise structural drainage, and accelerate the deterioration of your entire installation. Achieving a permanently weed-free surface requires looking past quick fixes and understanding the environmental dynamics at play within those narrow joints.
Every gap between your paving stones acts as a micro-ecosystem. Airborne seeds, wind-blown organic debris, and moisture naturally settle in these crevices, creating an ideal nursery for aggressive weeds, grasses, and moss. Tackling the issue successfully demands a multi-pronged approach that combines targeted removal techniques, smart environmental modifications, and preventative maintenance. Whether you are dealing with a freshly laid patio or wrestling with an established jungle of dandelions and couch grass, mastering the right sequence of steps will transform your outdoor space.
Why Weeds Invade Block Paving Joints
Before launching a counter-offensive, it helps to understand what makes block paving such a magnet for unwanted vegetation. Weeds require three fundamental elements to thrive: sunlight, moisture, and nutrients. The narrow spaces between pavers capture rainwater while trapping dust, pollen, and decaying leaves. Over time, this mixture breaks down into a nutrient-rich organic compost right inside the joints.
Standard installation methods or natural settling often cause the original jointing sand to wash or blow away. This leaves empty, shadowed depressions where seeds dropped by birds or carried by the wind can easily germinate. Recognizing that the battleground is primarily the joint itself-rather than the solid concrete or clay blocks-changes how you approach prevention entirely.
1. Effective Manual and Mechanical Weed Removal
When an infestation has already taken hold, pulling or digging out the weeds is the essential first step. However, improper technique often guarantees they will return within weeks.
Avoid the temptation to grab the visible foliage and give a sharp yank. This typically snaps the stem at the surface, leaving the main root network intact underground to sprout new shoots. Instead, dampen the area slightly to soften the soil, and use a specialized weeding knife, a narrow flat-head screwdriver, or a long-handled wire weed brush to lever the plant out from deep beneath the crown.
For larger surfaces, a pressure washer can dramatically speed up the process. Operating the machine on a medium setting, angle the spray slightly across the joints rather than blasting straight down. This clears out trapped weed seeds and stubborn roots without dislodging the underlying bedding layer. Be aware that pressure washing completely strips the joints, meaning you must commit to refilling the gaps afterward.
2. Natural and Non-Chemical Eradication Methods
If you prefer to avoid harsh synthetic herbicides that might run off into surrounding flowerbeds or harm local wildlife, several powerful household ingredients offer eco-friendly alternatives.
- Boiling Water: Pouring freshly boiled water directly onto weeds shocks the plant cell structures, scalding surface foliage and sterilizing lingering seeds in the upper soil layer.
- White Vinegar and Dish Soap Mix: Combine equal parts white vinegar and water in a spray bottle, adding a tablespoon of liquid dish soap. The soap breaks down the waxy cuticle on weed leaves, allowing the acetic acid in the vinegar to penetrate deeply and dehydrate the plant.
- Baking Soda: Dusting bicarbonate of soda generously over the gaps and sweeping it into the cracks creates a high-sodium environment that makes it nearly impossible for new weeds to take root.
- Targeted Saline Solutions: A mixture of one part salt to three parts water poured into the joints draws moisture rapidly out of plant cells. Use salt sparingly, however, as heavy runoff can alter surrounding soil chemistry and damage nearby lawns.
3. Installing Preventative Physical Barriers
The most permanent way to stop weeds is to build them out of the design before the first stone is laid. If you are planning a new driveway or redesigning an existing section, incorporate preventative infrastructure.
A heavy-duty woven geotextile weed control membrane laid directly beneath the sub-base and aggregate layers acts as a formidable physical barrier. While it allows water to drain freely into the earth below, it prevents dormant weed roots and seeds buried deep in the subsoil from pushing upward to the surface.
Additionally, ensure your installer lays the blocks tightly together with minimal tolerances. Tighter joints leave virtually no physical space for seeds to lodge and accumulate detritus.
4. Upgrading to Specialized Jointing Sand
Standard builder’s sand is porous, nutrient-rich, and essentially serves as a comfortable bed for weed seeds. Swapping standard sand for specialized alternatives changes the equation entirely.
Kiln-dried sand is heavily dehydrated and packed tightly into the joints during installation, creating a dense, dry matrix that discourages germination. For an even more robust defense, consider polymeric jointing sand. When activated with a precise mist of water, the specialized polymers bind the sand grains together into a semi-rigid seal that resists erosion, blocks root penetration, and prevents ants from tunneling.
| Sand Type | Weed Resistance | Durability | Cost |
|---|---|---|---|
| Builder’s Sand | Poor | Low | Very Low |
| Kiln-Dried Sand | Moderate | Moderate | Low |
| Polymeric Sand | Excellent | High | Moderate to High |
5. Applying a Protective Paving Sealant
Once your block paving is thoroughly weeded, cleaned of all organic debris, and completely dry, applying a breathable paving sealant provides an exceptional layer of long-term protection.
Quality sealants coat both the surface of the blocks and the upper crust of the jointing material. This hydrophobic barrier stops rainwater from pooling, prevents seeds from sticking to the masonry, and locks your jointing sand firmly in place. Depending on foot traffic and weather exposure, reapply a compatible breathable sealer every two to three years to maintain maximum defense.
Establishing a Consistent Maintenance Routine
Even the most advanced weed prevention systems require a baseline of ongoing care. Establish a simple seasonal routine to protect your investment:
- Weekly Sweeping: Take a stiff-bristled broom to your driveway or patio once a week. This simple habit removes wind-blown dust, organic mulch, and falling leaves before they break down into fertile weed food.
- Annual Sand Top-Ups: Inspect your paving joints at the end of every winter. Sweep in fresh kiln-dried sand to fill any micro-gaps caused by weather fluctuations or normal foot traffic.
- Prompt Spot Treatment: Deal with stray seedlings immediately upon sight. Pulling a single rogue dandelion takes seconds; ignoring it allows it to drop hundreds of seeds across your entire hardscape.
By shifting your strategy from reactive weeding to proactive environmental control, you can permanently eliminate the cycle of endless garden maintenance. Implementing physical barriers, upgrading jointing materials, and maintaining a clean surface ensures your block paving remains striking, stable, and completely weed-free for years to come.