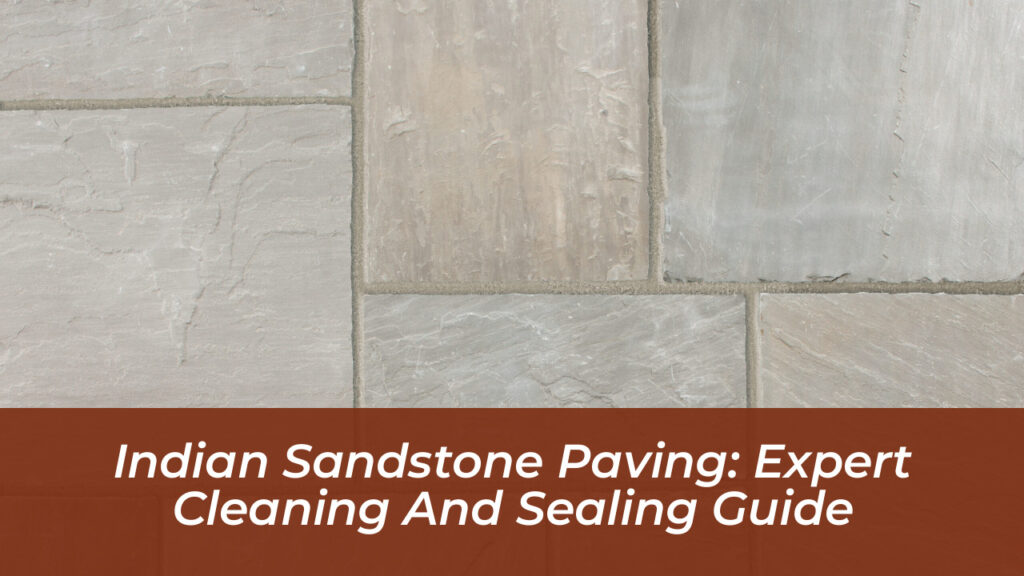
Indian sandstone is a prized material for garden patios and driveways, valued for its natural riven texture and unique color variations. Its earthy tones and rustic charm elevate outdoor spaces, but because it is a sedimentary rock, it possesses a porous structure. This porosity allows the stone to breathe, yet it also makes it a magnet for moisture, organic growth, and stubborn stains. Maintaining its beauty requires a nuanced approach that balances effective cleaning with the preservation of the stone’s natural integrity.
The Nature of Indian Sandstone
Before you reach for a cleaning product or a pressure washer, it is essential to understand what you are working with. Indian sandstone is not a manufactured product like porcelain; it is a natural material that varies in density and mineral content. This natural composition means that certain chemicals, particularly strong acids, can trigger irreversible reactions. For instance, many sandstones contain iron deposits. When these are exposed to acidic cleaners, the iron oxidizes, leading to permanent orange or rust-colored staining that is notoriously difficult to remove.
Because the stone is porous, it acts like a sponge. If you leave spills, leaf litter, or organic debris on the surface, the stone will absorb the pigments and moisture. Over time, this creates the perfect environment for algae, moss, and lichen to take hold. A proactive maintenance routine is the most effective way to protect your investment, ensuring the stone remains a highlight of your garden for decades rather than just a few seasons.
Routine Cleaning: The Foundation of Maintenance
You do not need harsh chemicals to keep your sandstone looking fresh. In fact, the most effective routine cleaning method is often the simplest. Regular sweeping is your first line of defense. By removing loose dirt, grit, and fallen leaves before they get ground into the surface, you prevent the buildup of organic matter that fuels algae growth.
For a deeper seasonal clean, use a gentle approach:
- Clear the area of all furniture and pots.
- Sweep the surface thoroughly with a stiff-bristled broom.
- Mix a solution of warm water and a small amount of pH-neutral stone cleaner. Avoid harsh detergents or washing-up liquids that may contain degreasers not suitable for stone.
- Scrub the surface using a nylon or polypropylene brush. Avoid wire brushes at all costs, as these leave microscopic metal traces that eventually rust and scratch the stone surface.
- Rinse the area thoroughly with clean water, ensuring no soapy residue remains.
Addressing Stubborn Stains and Organic Growth
Despite your best efforts, you may encounter specific issues like black lichen spots or deep-seated algae. These are common in shaded or north-facing gardens where moisture lingers. When dealing with these, patience is more effective than aggressive force.
Removing Algae and Moss
Algae and moss thrive in damp, shaded conditions. To remove them, use a proprietary patio cleaner specifically labeled as safe for natural stone. These products are formulated to break down the biofilm without etching the stone. Apply the solution, allow it to dwell for the recommended contact time-usually 15 to 30 minutes-and then scrub gently before rinsing. Never allow the cleaning agent to dry on the surface, as this can lead to streaking.
Dealing with Black Lichen
Black lichen spots are often the most frustrating issue for sandstone owners. Unlike surface algae, lichen roots itself into the stone’s pores. Scrubbing alone will rarely remove it. Instead, use a dedicated black-spot remover designed for natural stone. These treatments work by oxidizing the lichen. Always test these products on a small, inconspicuous area first to ensure the stone does not react poorly to the chemical composition.
Managing Efflorescence
If you notice a chalky white bloom on your paving, especially shortly after installation, do not panic. This is efflorescence, a natural phenomenon where mineral salts are drawn to the surface by evaporating moisture. It is not a sign of poor quality and will typically resolve itself as the mortar bed cures. Simply brush the area with a dry, stiff brush. Avoid using water or acid to wash it away, as this can actually re-dissolve the salts and pull more to the surface.
The Truth About Pressure Washing
Pressure washing is a polarizing topic in the world of stone care. While it is undeniably fast, it is also the most common cause of permanent damage to Indian sandstone. The stone is relatively soft, and a high-pressure jet can easily strip away the top layer, leaving behind rough, pale patches that are more prone to dirt accumulation in the future.
If you decide to use a pressure washer, follow these strict guidelines to minimize risk:
- Keep the pressure low: Do not exceed 120 bar (1,750 PSI).
- Use a wide fan nozzle: Never use a pencil jet or turbo nozzle, as these concentrate too much force on a single point.
- Maintain distance: Keep the nozzle at least 300mm away from the surface.
- Work with the grain: Move the lance in overlapping, sweeping motions, never dwelling on one spot.
For the best results, consider using a flat surface cleaner attachment. These devices contain the pressure within a shroud and provide an even, consistent clean that drastically reduces the risk of streaking or surface erosion.
The Role of Sealing in Protection
Sealing is the final step in a comprehensive maintenance plan. While it is not strictly mandatory, it is highly recommended for Indian sandstone. A quality sealer acts as a barrier, preventing liquids, oils, and organic matter from penetrating the pores of the stone. This gives you a much larger window of time to clean up spills before they become permanent stains.
Selecting the Right Sealer
There are two primary categories of sealers, and choosing the wrong one can ruin the aesthetic of your patio:
- Impregnating (Penetrating) Sealers: These are the gold standard for Indian sandstone. They soak into the stone, protecting it from within while allowing the stone to breathe. They maintain the natural, matte finish of the stone and are invisible once cured.
- Surface (Film-Forming) Sealers: These sit on top of the stone and often provide a “wet look” or high-gloss sheen. While some homeowners prefer this aesthetic, these sealers can be problematic. They are prone to peeling, can trap moisture, and often turn slippery when wet.
The Sealing Process
The success of your sealing project depends entirely on preparation. You must never seal a dirty or damp patio. If you seal over moisture, you will trap it, leading to a cloudy, milky finish that is difficult to fix. If you seal over dirt, you lock that dirt in permanently.
- Clean and Dry: Ensure the patio is immaculately clean and has been allowed to dry completely for at least 48 hours of dry weather.
- Test: Always apply the sealer to a small, hidden area first to check for color changes.
- Apply Evenly: Use a roller, brush, or low-pressure sprayer to apply the sealer in thin, uniform coats. Avoid pooling, as this will lead to sticky or uneven patches.
- Cure: Allow the sealer to cure for the time specified by the manufacturer, typically 24 to 48 hours, before allowing foot traffic.
Long-Term Maintenance Strategies
Once your patio is clean and sealed, the focus shifts to maintenance. A well-maintained sandstone patio should only require a thorough clean once or twice a year. Spring is the ideal time to clear away winter debris, while an autumn clean can help prepare the stone for the wet months ahead.
Beyond seasonal cleaning, keep an eye on your jointing compound. If the mortar or polymeric sand between the stones begins to crack or wash away, moisture will seep underneath the paving. This can lead to loose stones, weed growth, and eventually, the destabilization of the entire patio. Re-pointing your patio as soon as you notice gaps is a small task that prevents major structural repairs later.
Finally, avoid the use of harsh de-icing salts during winter. These salts can penetrate the stone and cause internal damage through freeze-thaw cycles. If you must use something for traction, opt for sand or a stone-safe de-icer. By respecting the natural properties of your Indian sandstone and avoiding the common pitfalls of aggressive cleaning, you ensure that your outdoor space remains a beautiful, functional extension of your home for years to come.