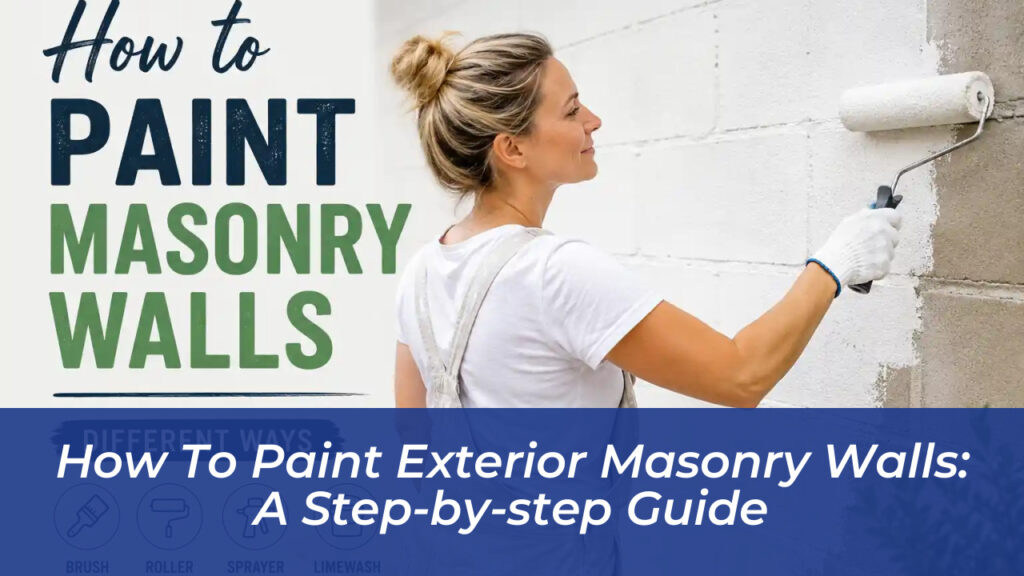
Transforming the exterior of a building with a fresh coat of paint creates an immediate visual lift while shielding the structure against harsh weather. However, painting exterior masonry walls differs significantly from coating standard drywall or timber siding. Brick, concrete block, and stucco are highly porous materials that absorb moisture, breathe, and shift with temperature changes. Applying standard paint without understanding these physical properties often results in premature bubbling, cracking, and trapped water that can structurally compromise the wall. Achieving a professional, long-lasting finish requires precise surface preparation, moisture management, and the selection of specialized masonry coatings designed to move and breathe with the structure.
Evaluating the Condition of Your Masonry
Before purchasing paint or unboxing tools, a thorough inspection of the masonry surface is mandatory. Skipping this evaluation phase sets the stage for paint failure. Over time, exterior walls endure wind, rain, freeze-thaw cycles, and ground settling, all of which leave physical marks that paint will only accentuate rather than hide.
Check the mortar joints carefully. If the mortar is crumbling, chalky, or recessed deeply behind the brick face, repointing is necessary before any painting begins. Filling cracks with a high-grade exterior masonry patching compound ensures a stable foundation. Additionally, look for efflorescence-a white, powdery salt deposit that forms when moisture travels through the brick and evaporates on the surface. This mineral residue must be completely eradicated, as paint will not adhere to a salt-layered wall.
Essential Surface Preparation and Cleaning
Paint bonds exclusively to clean, sound surfaces. Any dirt, airborne pollutants, biological growth, or degraded old coatings will act as a barrier, preventing the primer and paint from anchoring into the porous masonry pores.
- Pressure Washing: Blast away accumulated grime, dirt, and loose material using a pressure washer. Exercise caution with older brick to avoid eroding softer historic mortar joints.
- Chemical Scrubbing: For stubborn stains, mold, or mildew, apply a specialized masonry cleaner or a mixture of water and trisodium phosphate (TSP). Scrub aggressively with a stiff-bristle nylon or wire brush.
- Drying Period: Masonry must dry completely before any liquid coating is applied. Depending on climate conditions and humidity levels, allow a minimum of 48 to 72 hours of uninterrupted drying time after washing.
Selecting the Correct Paint and Primer System
Selecting the right products dictates whether your paint job lasts for a decade or fails within two seasons. Standard interior latex or oil-based paints are completely unsuitable for exterior masonry.
Masonry requires breathable formulations that allow trapped interior moisture vapor to escape harmlessly into the atmosphere while preventing liquid rain from penetrating inward. Acrylic latex masonry paint provides excellent durability and flexibility. Elastomeric paint offers extreme elasticity, bridging hairline cracks effectively, though it requires careful application to avoid trapping excessive moisture. For historic structures or soft clay bricks, potassium silicate mineral paints chemically bond with the masonry, creating a microporous finish that never peels.
A dedicated masonry primer or bonding primer is equally essential. It seals the highly absorbent substrate, equalizes porosity, and creates a tacky profile that grips the topcoat securely.
Tools and Equipment Checklist
Having the correct equipment streamlines the workflow and ensures even product distribution across heavily textured exterior walls.
- Long-nap paint roller covers (1-inch to 1.25-inch nap) to reach deep into mortar joints and textured surfaces
- Sturdy, angled-sash exterior paintbrushes for cutting in around windows, doors, and intricate architectural details
- Airless paint sprayer for rapid coverage on expansive, uniform masonry facades
- Heavy-duty canvas drop cloths and high-adhesion exterior painter’s tape
- Stiff wire brushes, scrapers, and masonry trowels for prep work
- Personal protective equipment including safety glasses, gloves, and a respirator mask
Step-by-Step Application Process
Methodical execution ensures uniform coverage and professional results. Take your time during each distinct phase to avoid common pitfalls.
Step 1: Site Protection and Masking
Cover surrounding landscaping, concrete walkways, windows, and light fixtures using plastic sheeting and drop cloths. Secure all edges with exterior-grade painter’s tape to maintain crisp, clean lines against trim and soffits.
Step 2: Applying the Masonry Sealer or Primer
Pour your masonry primer into a deep bucket or roller tray. Cut in the perimeter edges and mortar recesses using your angled brush. Immediately follow with a long-nap roller, working the primer deep into the brick faces and rough textures. Ensure complete, uniform opacity without leaving puddles or heavy runs.
Step 3: Curing the Primer
Allow the primer coat to cure fully according to the manufacturer specifications, typically between 4 to 24 hours. Weather conditions heavily influence drying times; avoid painting in direct, intense sunlight or when temperatures drop below 50 degrees Fahrenheit.
Step 4: Painting the First Coat
Load your long-nap roller with breathable exterior masonry paint. Apply the paint in smooth, overlapping W-patterns, working systematically from the top of the wall down to the ground. Using consistent pressure ensures paint reaches the deepest crevices of the masonry texture without forming drips.
Step 5: Inspecting and Applying the Final Coat
Once the initial coat dries completely, inspect the entire elevation for missed spots, pinholes in the mortar, or thin patches. Apply a second thin, uniform coat to achieve maximum color richness, UV protection, and long-term weather resistance.
Common Mistakes to Avoid When Painting Masonry
Avoid these frequent errors to protect your investment and maintain the structural integrity of your exterior walls:
- Painting Damp Walls: Sealing moisture inside masonry through premature painting causes rapid blistering, peeling, and efflorescence breakout.
- Using Impermeable Paints: Standard oil-based or non-breathable paints trap water vapor inside the wall assembly, leading to freeze-thaw spalling where the brick face literally shatters off.
- Skipping the Primer: Unprimed masonry absorbs paint unevenly, resulting in blotchy finishes, wasted product, and weak adhesion.
- Overloading Product: Applying thick, heavy coats causes sagging, runs, and skinning where the outer layer dries while the wet interior remains trapped.
Long-Term Maintenance of Painted Masonry Walls
Preserving your freshly painted exterior requires minimal yet consistent upkeep. Inspect the painted masonry annually, specifically after severe winter weather or heavy storm seasons. Wash away accumulated atmospheric dust, pollen, and grime using a low-pressure garden hose and a soft brush. Address any minor chips, hairline cracks, or localized wear immediately by cleaning the area, touching up with matching masonry primer, and applying a fresh topcoat. Proactive care ensures your masonry remains both visually striking and structurally sound for years to come.