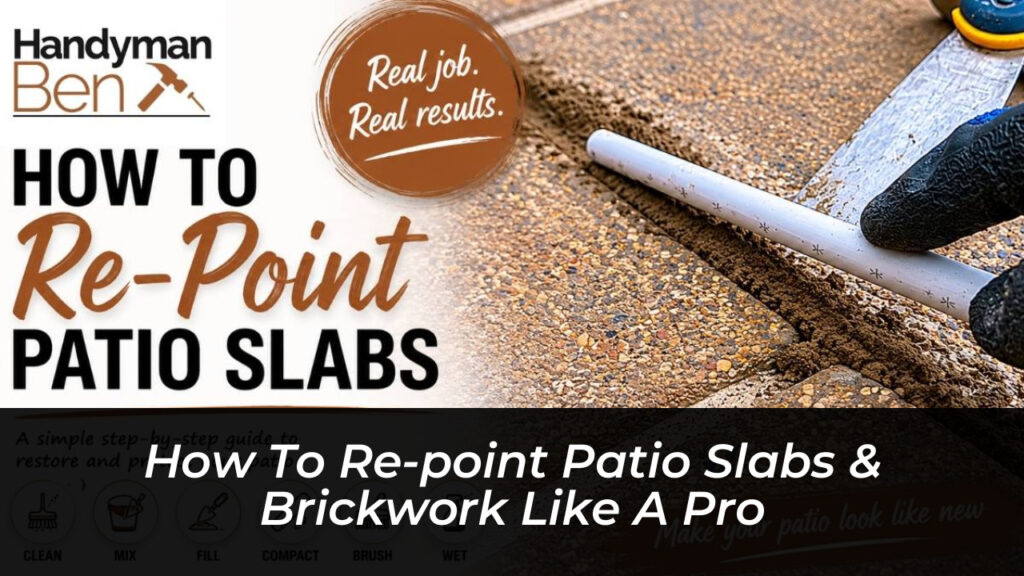
Over time, outdoor hard surfaces take a beating from harsh weather, shifting earth, and constant foot traffic. Whether you are looking at a weathered stone terrace in the backyard or a faded brick garden wall, the joints between individual units are usually the first structural elements to fail. When mortar crumbles, falls out, or develops gaping cracks, it invites moisture, weeds, and shifting stones. Tackling this restoration process yourself is one of the most cost-effective ways to revitalize an outdoor living space without investing in a full replacement.
Restoring structural joints requires patience, proper technique, and attention to detail. Skipping preparation stages or rushing the mortar mixing process leads to premature failure and frustrating callbacks to your own backyard. This guide walks through the entire methodology for re-pointing both horizontal patio slabs and vertical brickwork, ensuring a professional, long-lasting finish.
Recognizing the Early Warning Signs of Mortar Failure
Before grabbing tools, examine your hardscaping to determine the extent of the damage. Mortar joints do not fail overnight; environmental pressures slowly break down the binder holding the sand and cement together.
Common indicators that your patio or brickwork requires immediate re-pointing include:
- Visible cracks, fissures, or crumbling sections running along the mortar lines.
- Entire sections of mortar missing completely, leaving deep voids between stones or bricks.
- Persistent weed, moss, or grass growth thriving within the gaps.
- Pooling water trapped in low joints after a rainstorm, which threatens winter freeze-thaw damage.
- Individual patio slabs or bricks wobbling or shifting when stepped upon or nudged.
Addressing these issues early prevents water from seeping underneath the paving foundation. Once water penetrates the sub-base, sub-surface erosion accelerates rapidly, turning a simple pointing job into a major relaying project.
Essential Tools and Materials for the Job
Having the correct equipment on hand makes the labor significantly smoother and produces cleaner, more durable results. Gather the following items before breaking ground:
- Stiff-bristle yard broom and wire brush: For sweeping away loose debris and scrubbing organic matter.
- Angle grinder with a diamond mortar-raking blade: Optional, but saves hours of manual labor on hard mortar lines.
- Bolster chisel and club hammer: Traditional manual tools for chipping out stubborn old mortar safely.
- Pointing trowel and brick jointer: For placing and smoothing the fresh mortar mix into tight gaps.
- Mixing board or wheelbarrow: A clean surface to combine your sand and cement accurately.
- Sharp sand and ordinary Portland cement: The core ingredients for a traditional, robust structural mortar mix.
- Spray bottle or garden hose with a fine mist attachment: Crucial for dampening joints and controlling the curing speed.
Step-by-Step Guide to Re-Pointing Patio Slabs
Horizontal paving stones face unique challenges, including pooling water and heavy foot traffic. Follow this structured sequence to strip out the decay and lock your patio back into place.
Step 1: Raking Out the Old Mortar
The foundation of any successful re-pointing project is thorough cleaning. Use your bolster chisel or angle grinder to remove degraded material. You must clear out enough depth to give the new mortar something substantial to grab onto.
As a rule of thumb, rake out old mortar to a depth of at least 15 to 20 millimeters, or roughly twice the width of the joint itself. Skimming the surface leaves a thin veneer that will pop out under the first heavy frost. Once the joints are hollowed out, sweep the entire area clean and use a stiff brush to clear out dust, dirt, and lingering root systems.
Step 2: Mixing the Mortar Compound
For standard stone or concrete patio slabs, a traditional sand and cement mix provides unmatched durability. Combine four parts of sharp sand with one part ordinary Portland cement on your mixing board.
Mix the dry components thoroughly until the color is uniform throughout. Next, add water very sparingly. You are aiming for a damp earth consistency. When you grab a handful of the mixed mortar and squeeze it, it should hold together in a compact clump without feeling sloppy, wet, or leaving excess moisture on your skin. Excess water causes severe shrinkage and cracking as the mixture dries.
Step 3: Compacting Mortar Into the Joints
Load a small amount of your mortar onto a hawk or directly onto your pointing trowel. Hold the trowel flush against the edge of the gap and use a pointing bar or narrow trowel blade to push the material firmly down into the void.
Work in small sections of two to three square meters at a time. Compact the mortar aggressively. Voids and air pockets trap moisture, leading to winter frost expansion and structural cracking. Pack the material until the joint is slightly overfilled.
Step 4: Shaping and Finishing the Joints
Once the gaps are tightly packed, use a brick jointer or a smooth piece of half-inch copper pipe to smooth and shape the mortar. Run the tool along the joint with firm, even pressure. This compresses the outer surface of the mortar, creating a sleek concave or flush finish that sheds rainwater efficiently.
Take your time during this phase. A clean, uniform profile transforms a tired patio into a feature that looks professionally installed.
Step 5: Cleaning and Curing
Allow the mortar to stiffen slightly for an hour or two depending on ambient temperatures. Before it hardens completely, take a soft-bristled brush and gently sweep away any stray crumbs resting on the surface of the paving slabs to prevent unsightly cement staining.
To ensure maximum strength, fresh mortar requires slow, controlled curing. If the sun is beating down or a stiff breeze is blowing, lightly mist the joints using a spray bottle. Avoid soaking the patio; you simply want to keep the surface damp to prevent moisture from evaporating too quickly.
Adapting the Process for Vertical Brickwork
While the underlying principles remain similar, re-pointing vertical brick walls requires distinct adjustments due to gravity and load distribution. Walls endure driving rain and structural settling rather than direct foot traffic.
Preparing Brick Mortar Joints
Vertical brick joints are generally narrower than patio gaps, typically measuring around 10 millimeters. Exercise extreme caution if using an angle grinder, as it is very easy to slip and slice the corners of heritage bricks, permanently scarring the facade.
For softer historical lime mortar, manual hand tools such as a plugging chisel and club hammer are always preferred over power tools to protect the integrity of the surrounding masonry.
Adjusting the Mortar Mix for Walls
While patio slabs often benefit from the high grit content and structural strength of sharp sand, vertical brickwork frequently calls for a softer touch, especially on older buildings.
| Application Type | Recommended Sand Type | Ratio (Sand to Cement/Lime) | Primary Benefit |
|---|---|---|---|
| Patio Slabs | Sharp Sand | 4 Parts Sand : 1 Part Cement | High compressive strength, resists heavy foot traffic and wear. |
| Modern Brickwork | Soft Building Sand | 5 Parts Sand : 1 Part Cement | Smooth workability, easy to tool into narrow vertical joints. |
| Historic/Older Brick | Washed Graded Sand | Natural Hydraulic Lime Mix | Flexibility allows walls to breathe and shift without cracking bricks. |
Applying Mortar to Vertical Surfaces
When working on a wall, hold your hawk directly beneath the horizontal joint you are filling. Use a small narrow pointing trowel to feed the mortar horizontally into the bed joints, then fill the vertical perpends.
Pack the material inward using a tuck pointer. Do not rush, as loose mortar will slump down the wall if mixed with too much water. Once the joints are packed flush, strike them with a bucket-handle iron or a recessed jointer to match the existing architectural style of the building.
Advanced Professional Techniques for Long-Lasting Results
Achieving artisan-level results requires mastering environmental factors and anticipating common pitfalls. Keep these expert strategies in mind before starting your project:
- Monitor Weather Conditions: Never undertake re-pointing work during freezing conditions or heavy downpours. Frost expands wet mortar and ruins structural bonds, while torrential rain washes out fresh cement before it sets. Ideal working temperatures range between 10°C and 20°C.
- Pre-Dampening Extremely Dry Bricks: If your bricks or pavers are bone dry and scorching hot from the sun, they will instantly suck the moisture out of your fresh mortar mix, causing it to powder and fail. Splash the cleaned gaps with water and let them absorb the dampness before applying mortar.
- Matching Existing Mortar Color: If you are only repairing a patch of a wall or patio rather than the entire surface, standard grey cement might stand out. Experiment with cement dyes or colored building sands on a scrap board before committing to the whole area.
Troubleshooting Common DIY Mistakes
Even seasoned handymen run into snags occasionally. Understanding how to identify and correct errors early saves immense frustration.
If your fresh mortar starts turning powdery and crumbling a day after application, it dried out too fast. Prevent this by maintaining a strict misting schedule during the first 48 hours of curing. If you notice unsightly white salt deposits blooming across your new joints, this is caused by moisture drawing soluble salts out of the bricks or sand. Let the wall dry completely, then gently scrub the deposits away with a dry, stiff brush.
Conclusion
Re-pointing patio slabs and brickwork is undeniably labor-intensive, but it is entirely accessible to the homeowner willing to invest a weekend of physical effort. By prioritizing deep cleaning, maintaining a semi-dry mortar consistency, and packing every joint with meticulous care, you can eliminate unsightly weeds, prevent structural water damage, and restore your outdoor hardscapes to pristine condition.