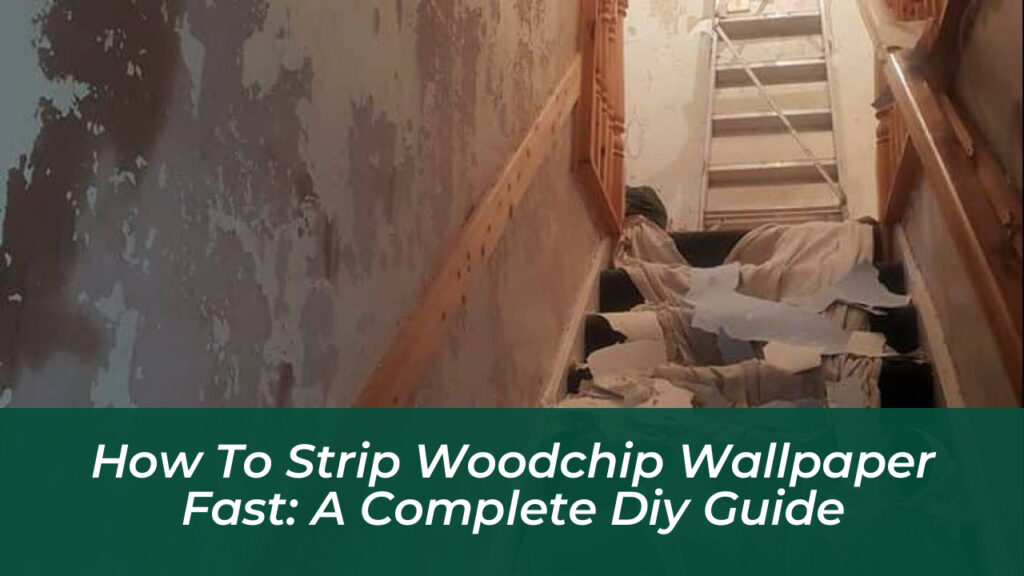
Tackling woodchip wallpaper is often considered a rite of passage for home renovators, though rarely an enjoyable one. Thick, bumpy, and frequently buried beneath decades of multiple paint layers, this retro wall covering has earned its notorious reputation among DIY enthusiasts. Traditional peeling methods simply fail because woodchip consists of tightly bonded paper layers packed with tiny wood fibers that shred instantly when pulled. However, transforming those frustrating, textured walls into smooth, modern surfaces does not require an endless battle or professional contractor fees. By letting moisture do the heavy lifting and employing the right combination of scoring tools, chemical strippers, and systematic scraping techniques, you can strip woodchip wallpaper fast and efficiently.
Why Woodchip Wallpaper is So Difficult to Remove
Before diving into the manual labor, understanding the structural composition of woodchip helps explain why standard removal tricks fall short. Woodchip is classified as an ingrain wallpaper, featuring dual layers of paper encapsulated with compressed wood chips designed to camouflage cracked, uneven plaster. Over the decades, previous homeowners typically slapped several coats of emulsion or oil-based paint directly over the texture. This painted armor effectively seals the paper, creating a waterproof barrier that blocks ordinary water from ever reaching the underlying adhesive paste. Ripping at dry woodchip only tears the surface into stubborn, stringy confetti while gouging the soft plaster underneath. Success relies entirely on breaching that top protective skin so that moisture can penetrate deep down to dissolve the glue.
Gathering Your Essential Stripping Toolkit
Attempting this project without the proper implements guarantees frustration. Arming yourself with specialized gear cuts down physical labor significantly and protects the surrounding room from severe water damage. Gather the following items before starting:
- Perforating Tool: A rotary scoring tool to puncture the painted surface without gouging the plaster.
- Scrapers and Filling Knives: A flexible 4-inch or 6-inch jointing knife alongside a standard wallpaper scraper. Flexible blades prevent accidental digs into soft wall substrates.
- Stripping Solution: A commercial wallpaper stripper concentrate like Zinsser DIF or an eco-friendly stripping gel designed to break down old adhesive.
- Application Gear: A garden pump sprayer, a paint roller with a high-nap masonry sleeve, or large decorators’ sponges.
- Protection Supplies: Heavy-duty plastic sheeting, masking tape, old lining paper, rubber gloves, and a dust mask.
Step-by-Step Method to Strip Woodchip Wallpaper Fast
Step 1: Thorough Room Preparation
Stripping textured wallpaper creates an enormous amount of wet, pulpy debris that turns into a cement-like paste once dry. Protecting your floors and furnishings is non-negotiable. Tape heavy-duty plastic sheeting tightly across your skirting boards to prevent water runoff from seeping beneath carpets or staining hardwood floors. Experienced decorators use a clever trick here: roll out cheap lining paper or old newspapers directly along the base of the wall you are working on. As you scrape away heavy clumps of wet woodchip, flick the debris downward onto this sacrificial paper layer. Once you finish a wall, simply roll up the paper containing all the sludge and toss it straight into the trash.
Step 2: Perforating the Painted Surface
Dry woodchip resists water completely. Take your rotary scoring tool and pass it across the entire wall in a gentle, overlapping motion. The goal is to punch hundreds of tiny perforations through the outer layers of paint and paper without pressing so hard that you score deep grooves into the plasterboard or brickwork underneath. These micro-holes act as entry points, allowing your liquid solution to bypass the paint barrier and travel straight to the wallpaper paste.
Step 3: Super-Charging the Soaking Process
Dabbing walls with a damp sponge wastes valuable time and energy. Instead, mix your wallpaper stripping concentrate with very hot water inside a garden pump sprayer or apply it liberally using a paint roller fitted with a thick sleeve. A pump sprayer allows you to blanket large surface areas rapidly with a consistent, foamy mist. Saturate the perforated wall thoroughly, then walk away for ten to fifteen minutes. Let the chemicals and heat work their magic. Come back and spray the wall a second time. Industry professionals swear by a golden rule: let the water do the work. If the paper refuses to budge, you simply haven’t used enough moisture or given it adequate time to dissolve the paste.
Step 4: Dry-Scraping the Top Layer
While the wall is soaking, you can often accelerate progress by attacking the top painted skin with a wide, flexible jointing knife. Hold the blade at a shallow angle against the wall and slide the corner underneath the softened edges. Because old paint layers stiffen the paper over time, you can frequently peel away large, rigid sheets of woodchip in sweeping horizontal motions. Reserve your wallpaper steamer or secondary soaking pass for the stubborn backing paper and residual adhesive left clinging to the plaster.
Step 5: Scraping Away Remnants
Once the underlying paste turns to a soft, jelly-like consistency, use your scraper to glide underneath the remaining wood fibers. Keep your blade clean and sharp; a dull or burred metal edge will catch on the wall and gouge the plaster. Work methodically from top to bottom, tackling one manageable section at a time. If any area begins drying out and resisting the blade, stop immediately, spray it with hot water, and wait a few minutes before resuming.
Alternative Approaches: Using a Wallpaper Steamer
Many DIY enthusiasts swear by electric wallpaper steamers, while others avoid them entirely. If you choose to use a steamer, ensure you still complete the crucial scoring and pre-soaking steps first. Fill the tank with boiling water from your kettle to accelerate warm-up times. Hold the steam plate firmly against a section of the wall for roughly ten to fifteen seconds to let the heat penetrate the wood fibers, then immediately slide your scraper underneath as you lift the pad away. While steamers work well on stubborn patches, they can be messy, cause condensation to drip into electrical sockets, and release heavy moisture that risks compromising older plaster walls.
Dealing with Damaged Walls After Removal
Once every square inch of woodchip wallpaper and old paste is gone, allow the room to dry completely before assessing the damage. It is entirely normal to discover minor gouges, scratches, or areas where fragile plaster pulled away alongside the paper. Wash down the entire bare wall using a warm sugar soap solution to eliminate any remaining chemical residue and microscopic adhesive films. Rinse with clean water and let dry. Fill any surface imperfections, cracks, or deep gouges using a flexible interior wall filler. Sand the patched areas smooth with fine-grit sandpaper, apply a stabilizing primer or primer-sealer, and your walls will finally be prepped and ready for fresh paint or modern decorative paper.
Pro Tips for Saving Time and Sanity
- Work in Sections: Do not try to soak an entire room at once. Walls dry out faster than you can scrape them. Focus on single wall panels or manageable 4-foot squares.
- Invest in Good Blades: Cheap, flimsy scrapers bend under pressure and tire your wrists quickly. Buy quality stainless steel blades with comfortable, ergonomic handles.
- Dress Appropriately: Stripping wallpaper is an intensely messy, sweaty job. Wear waterproof gloves to protect your hands from harsh stripping solutions and hot water splashes.
Removing woodchip wallpaper requires patience, physical effort, and a methodical strategy, but the dramatic transformation makes the arduous process completely worthwhile. By ditching brute-force tactics in favor of proper perforation, chemical penetration, and calculated scraping, you can strip woodchip wallpaper fast and pave the way for a stunning, modern interior update.