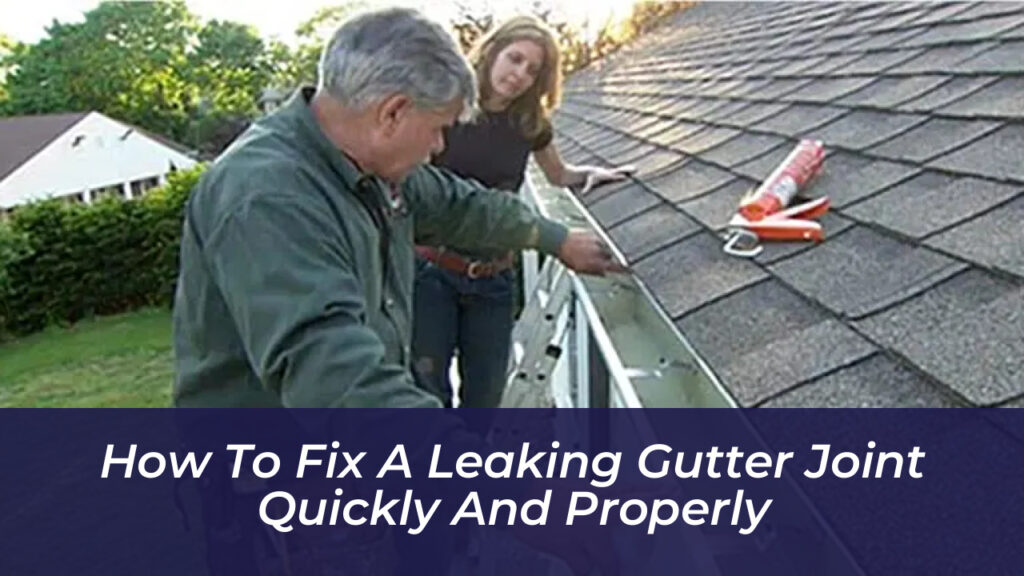
A dripping gutter joint might seem like a minor annoyance during a rainstorm, but ignoring it can lead to rotting fascia boards, stained siding, and costly foundation damage. Fortunately, you do not need to call a contractor or spend hundreds of dollars to fix the problem. Most leaking seams, end caps, and minor holes are straightforward DIY projects that you can knock out in a single afternoon using affordable materials.
Understanding why the joint failed in the first place ensures your repair stands up to changing seasons and severe weather. Whether your home features sectional aluminum, steel, or vinyl gutters, tackling the fix properly requires the right preparation, the correct choice of sealant, and an understanding of why external patches almost always fail.
Why Gutter Joints and Seams Fail
Sectional gutter systems are typically built from ten-foot segments joined together by lapped connections, corner miters, and end caps. Every single one of these intersections represents a potential leak point. Over time, physical stress and environmental factors take a heavy toll on the materials holding your drainage system together.
Thermal expansion is a major culprit. As summer temperatures soar and winter freezes take over, metal gutters constantly expand and contract. This continuous movement places immense strain on the waterproofing sealants inside the joints. Eventually, standard caulk loses its elasticity, dries out, and cracks.
Debris accumulation accelerates this breakdown. When fallen leaves, twigs, and granules from asphalt shingles build up inside your channel, they form impromptu dams. Standing water places constant hydraulic pressure directly over the seams. Gutter joints are engineered to route flowing water away, not to act as miniature swimming pools.
Tools and Materials Required for the Job
Before you climb a ladder, gather the proper gear and supplies to ensure you can complete the repair efficiently without multiple trips to the hardware store.
- Sturdy A-frame or extension ladder with a standoff stabilizer
- Heavy-duty work gloves and safety glasses
- Plastic putty knife or stiff-wire brush
- Isopropyl alcohol or mineral spirits for degreasing
- High-quality gutter and flashing sealant (such as butyl rubber or polyurethane)
- Standard caulking gun
- Garden hose for pre-cleaning and post-repair testing
Avoid standard acrylic or silicone household caulk. Regular silicone fails to bond reliably to aluminum or galvanized steel, and cheap latex caulk lacks the flexibility required to withstand metal movement during temperature shifts.
Step-by-Step Guide to Fixing a Leaking Gutter Joint
A lasting repair depends entirely on thorough surface preparation. Slapping new material over old, dirty metal is the primary reason DIY gutter repairs fail within a few weeks.
1. Inspect and Clean the Gutter Thoroughly
Climb your ladder safely, making sure it rests securely on level ground rather than pressing directly against the delicate metal of the gutter itself. Scoop out any leaves, mud, or pine needles near the leaking joint. Use your putty knife and wire brush to scrape away all remnants of the old, cracked sealant.
You do not need to scrape the bare metal to a mirror finish, but you must remove all loose, crumbling, or peeling material. New sealant cannot adhere to weathered residue.
2. Degrease and Dry the Metal Surface
Once you have cleared out the old joint material, wipe down the interior metal surfaces with a rag soaked in isopropyl alcohol or mineral spirits. This removes fine dust, road grime, and oily residues.
Allow the joint to dry completely. If moisture remains trapped in the seam when you apply your product, the bond will fail prematurely. On humid or cool days, speed up the drying process using a heat gun or a clean microfiber towel.
3. Apply Sealant from the Inside
Load your gutter and flashing sealant into the caulking gun. Apply a generous, continuous bead directly over the joint from the inside of the gutter channel.
Never apply your primary waterproofing patch to the exterior underside of the gutter. Water flowing through the system will still infiltrate the joint from above, trapping moisture against the metal and eventually pushing your exterior patch right off. Extend your bead about one to two inches past each side of the seam to ensure complete coverage.
4. Tool and Smooth the Seal
Put on a glove and use your finger-or a specialized caulk smoothing tool-to press the sealant firmly into the seam. This eliminates air pockets and forces the material into every micro-gap. Smooth the surface into a clean, continuous fillet that feathers out evenly against the gutter walls.
5. Allow Proper Curing Time
Professional-grade gutter sealants require anywhere from 24 to 48 hours to cure fully, depending on humidity and temperature. Check your local weather forecast to ensure you have at least two consecutive dry days ahead before tackling the project. Exposing fresh sealant to sudden rain ruins the chemical bonding process.
6. Test the Repair
Once the curing window has passed, grab a garden hose and run water into the gutter from a point higher up on the roofline. Watch the repaired joint carefully from below. If the area remains completely bone dry, your repair is a success.
Fixing Leaking Gutter End Caps
End caps present another frequent headache for homeowners. When the seals fail at the corners of your house, water cascades straight down past your siding.
If an end cap has only minor seepage, you can force fresh gutter sealant around its interior perimeter and smooth it out. However, if the cap has pulled away from the channel entirely, remove it completely. Scrape away all old sealant from both the cap and the gutter opening. Apply a fresh bead of butyl rubber sealant around the inside edge of the end cap, press it firmly back into place, and secure it mechanically using two or three aluminum pop rivets. Run a final bead of sealant inside over the rivets for absolute protection.
Patching Corrosion Holes and Pinhole Leaks
While aluminum gutters rarely rust, older steel gutters frequently develop pinholes from corrosion, and organic acids from decaying pine needles can eventually pit aluminum.
For very small pinholes under a quarter-inch wide, applying a dollop of gutter sealant directly over the hole from the inside often resolves the issue under water pressure. For slightly larger holes, cut a piece of self-adhesive flashing tape (such as Eternabond) and press it firmly over the clean, dry metal surface, working outward from the center to eliminate air bubbles. If a ten-foot section features multiple corrosion holes or widespread pitting, patching becomes a temporary band-aid; replacing that single section of gutter is faster, cleaner, and far more cost-effective in the long run.
Preventing Future Gutter Joint Leaks
Addressing leaks as they appear is important, but proactive maintenance cuts down on emergency repairs. Implement these simple habits to extend the life of your entire drainage system:
- Clean your gutters twice a year: Clear out debris every spring and late fall to prevent standing water and heavy weight from straining your seams.
- Check your gutter slope: Ensure your system maintains a consistent downward pitch of roughly a quarter-inch for every ten feet of run toward the downspouts.
- Inspect hangers annually: Tighten any loose screws or replace sagging brackets to keep the gutter sections from pulling apart under structural stress.
- Consider gutter guards: Installing high-quality mesh or screen guards minimizes debris accumulation, keeping water flowing freely and protecting your joints from constant pressure.
By investing a little time into proper cleaning, scraping, and internal sealing, you can quickly eliminate annoying gutter leaks and protect your home’s foundation from costly water damage for years to come.