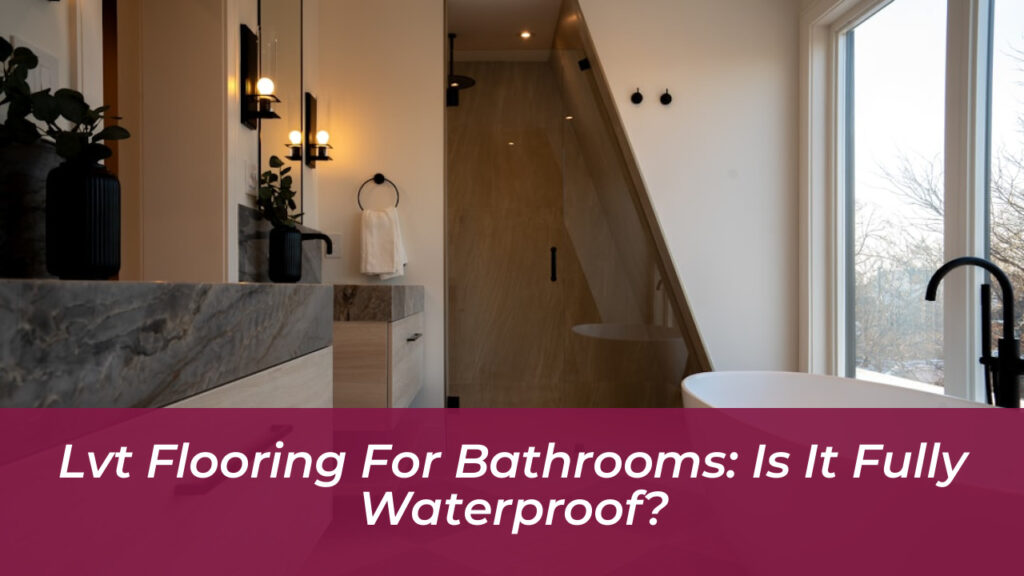
Luxury vinyl tile has transformed bathroom renovations by offering the sophisticated appearance of natural stone or ceramic without the punishing cold and complex installation. When planning a wet room update, homeowners naturally ask whether LVT is fully waterproof. The direct answer requires looking past marketing slogans and examining how the material, core composition, and installation techniques work together to block moisture.
LVT Construction and Water Resistance
Standard luxury vinyl tile combines a clear protective wear layer, a photographic design film, and a flexible vinyl backing. While this multi-layer structure handles minor spills and surface moisture effortlessly, it differs fundamentally from engineered waterproof systems. Traditional vinyl resists water on its top surface, but continuous exposure or standing water can exploit vulnerabilities.
Modern product lines, particularly those featuring stone plastic composite or wood plastic composite cores, elevate moisture defense significantly. SPC cores utilize a dense mixture of limestone and stabilizers, creating a rigid structure that will not swell, warp, or degrade when exposed to humidity and incidental splashes. However, calling the material waterproof at the plank level does not automatically make the entire floor assembly impervious to water.

Where the Waterproof Claim Falls Short: Joints and Seams
The core material may be completely waterproof, but water can still bypass the surface through perimeter gaps and locking joints. Click-lock floating floors create microscopic seams between individual tiles. When water from a splashing tub or dripping shower pools on these joints, it can seep downward.
Once moisture penetrates the seams, it reaches the subfloor below. Trapped water breeds mold, mildew, and structural rot while causing adhesive failure. Therefore, achieving true waterproof performance in a bathroom depends heavily on how the flooring is installed and sealed.
Choosing the Right Installation Method for Wet Areas
Installation strategy dictates whether an LVT bathroom floor remains trouble-free over years of heavy use. Selecting the appropriate technique prevents moisture from reaching vulnerable structural layers.
- Glue-Down Installation: Adhering LVT directly to the subfloor with full-spread adhesive creates a tight moisture barrier. The adhesive seals the back of each tile, preventing water migration.
- Groutable LVT: Certain luxury vinyl tiles accept flexible acrylic or urethane grout between joints. This seals the perimeter gaps identically to traditional ceramic tile, providing robust protection against shower splashes.
- Click-Lock Floating Floors: While fast and convenient for DIYers, floating systems rely on tight mechanical joints rather than adhesive seals. They require meticulous perimeter caulking to stop water runoff.
Essential Steps for Waterproof Bathroom Installation
Proper preparation eliminates the hidden pathways that allow water damage during routine bathroom use. Cutting corners during installation invites premature floor failure.
- Subfloor Preparation: Ensure the subbase is completely dry, clean, and level. Repair any low spots or cracks where water might pool.
- Perimeter Sealing: Leave the required expansion gap around the room edges, but always fill this gap with 100% silicone caulk before installing baseboards or trim.
- Fixture Integration: Remove toilets and vanities rather than cutting around them. Run the LVT underneath, and seal all transition points around tubs and shower bases with waterproof silicone.
Comparing LVT to Traditional Ceramic Tile
Homeowners weighing flooring choices often compare LVT directly against porcelain and ceramic tile. While tile remains the gold standard for permanent, commercial-grade water immersion, LVT offers distinct lifestyle advantages in residential bathrooms.
| Feature | Luxury Vinyl Tile (LVT) | Ceramic or Porcelain Tile |
|---|---|---|
| Comfort Underfoot | Warm and cushioned | Cold and hard |
| Installation Time | Completed in hours | Requires days for mortar and grout curing |
| Slip Resistance | Typically high textured grip | Can become slick when wet |
| Repairability | Individual planks can be replaced | Challenging to chisel out and reset |
Maintenance Practices to Preserve Waterproof Integrity
Even the highest-rated waterproof LVT requires sensible upkeep to maintain its protective qualities. Wipe up standing water from post-shower puddles promptly rather than letting moisture sit indefinitely on the surface.
Clean regularly using a damp mop and a pH-neutral cleaner specifically formulated for vinyl floors. Avoid harsh scouring pads, abrasive chemical strippers, and high-heat steam mops, as excessive thermal energy can compromise adhesives and warp the wear layer over time. Run the bathroom exhaust fan during and after showers to control ambient humidity and protect both the flooring and wall structures.