Installing a wet room on a suspended timber floor requires careful preparation and an understanding of how wood behaves under load. Unlike rigid concrete slabs, wooden subfloors naturally flex, expand, and contract with seasonal moisture and daily foot traffic. Without the correct installation techniques and purpose-built drainage kits, this movement leads to cracked grout lines, loosened tiles, and catastrophic water leaks. However, by selecting lightweight composite formers, reinforcing the joists, and applying a robust tanking system, you can build a high-performance wet room upstairs that remains watertight for decades.
Why Timber Floors Demand Special Consideration
Timber and concrete are entirely different structural substrates. Concrete is dimensionally stable and easily absorbs heavy screed beds. Suspended timber floors, by contrast, are living structures. Joists bend under weight, and timber components react dynamically to humidity and temperature changes.
Standard wet room kits designed for ground-floor concrete slabs rely on rigid mortar beds to maintain falls and support tile adhesion. On a timber floor, pouring a heavy screed bed adds unnecessary dead weight that overloads the joists. Standard floorboards and common OSB sheets are also prone to swelling when exposed to moisture. To ensure long-term stability, timber wet room installations require lightweight composite formers, stiffened joists, and a comprehensive decoupling layer that absorbs micro-movements before they reach the tile finish.
Step 1: Assessing and Preparing the Subfloor
A successful wet room begins beneath the surface. You must first inspect the existing floor structure to confirm it meets strict deflection limits. British Standards recommend maximum deflection limits of L/360 for ceramic tiles and L/720 for natural stone over a span. If your floor bounces or sags under weight, additional structural reinforcement is non-negotiable.
- Remove existing softwood floorboards or standard chipboard within the shower footprint.
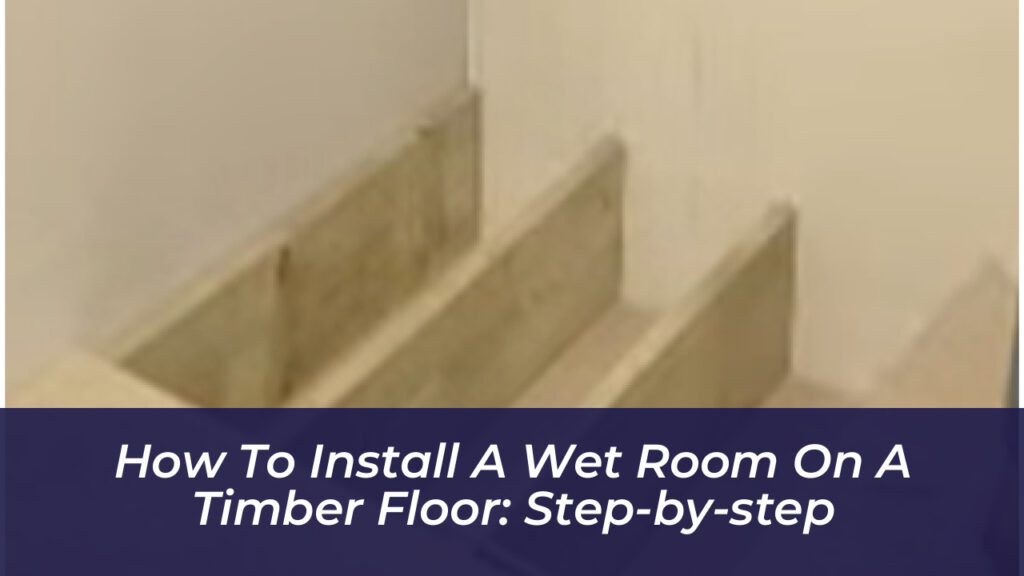
- Install timber noggins (short strengthening timbers) between the joists at maximum 300mm to 400mm centres to eliminate lateral flex.
- Check that joist heights allow the installation of a pre-formed shower tray without creating an unwanted step up into the shower area.
Step 2: Choosing and Installing the Wet Room Kit
Selecting the right wet room kit prevents structural complications. Most timber-floor systems rely on pre-formed XPS foam trays covered in a cementitious coating and reinforced with fibreglass mesh. These formers feature a built-in gradient-usually a 1% to 2% slope-that channels water directly toward the waste outlet without requiring a heavy mortar bed.
To keep the finished floor flush, you must recess the former into the joist space. Cut a section of moisture-resistant marine plywood-at least 18mm to 25mm thick-to fit between the joists, supporting it on timber battens fixed to the sides of the joists. Screw the plywood down securely at tight intervals to create a solid, stable base for the former and drainage assembly.
Step 3: Connecting and Testing the Waste Drainage
Drainage routing on a timber floor requires precision because the waste pipe must run horizontally between the joists without compromising their structural integrity. Never drill or notch joists in ways that exceed building regulations.
Fit your chosen waste trap and connect it to the main household plumbing system using appropriately sized pipework with a steady downward slope. Many timber-compatible kits offer rotating drain outlets or flexible apertures to help you navigate around existing joist layouts. Once the dry-fit is complete, pour several buckets of water directly into the trap to verify smooth flow rates and check for any leaks before securing the components permanently with solvent weld or manufacturer-approved adhesive.
Step 4: Bedding the Shower Former
With the drainage secured and tested, apply a uniform layer of flexible tile fixing adhesive across the marine plywood subfloor using a notched trowel. Carefully press the pre-formed shower tray into the adhesive bed, aligning the integrated drain channel with the waste trap below. Use a spirit level to verify that the tray is completely flat, that the surrounding floor remains even, and that the gradients lead effortlessly toward the drain. Weight the corners of the tray evenly while the adhesive cures to ensure total contact with the substrate.
Step 5: Tanking and Waterproofing the Timber Room
Tanking is the most critical phase of any wet room installation. Water does not respect tile grout lines, and moisture will eventually penetrate porous surface finishes. A complete waterproof membrane system is mandatory to protect the wooden subfloors, joists, and rooms situated directly below.
- Clean the entire floor and lower wall surfaces, removing all dust, grease, and debris.
- Apply a primer compatible with your tanking system to all timber and cementitious surfaces.
- Install pre-formed waterproof internal corners and apply self-adhesive reinforcing tape across all floor-to-wall junctions and board joints.
- Coat the entire shower floor, the surrounding splash zones, and lower walls with at least two generous coats of a liquid-applied polymer tanking membrane.
Allow the liquid membrane to cure completely according to the manufacturer’s instructions before starting any tiling work. This creates a seamless, rubberised barrier that blocks water ingress permanently.
Step 6: Tiling and Finishing Touches
Once the tanking membrane is fully cured, you are ready to tile the space. Always use flexible tile adhesive and waterproof grout formulated specifically for movement-prone substrates. If you are installing large-format tiles, incorporate a decoupling membrane over the non-shower areas to absorb residual timber micro-movements. Seal all perimeter joints and wall-to-floor transitions with a high-grade silicone sealant to complete a professional, watertight finish that protects your timber floor for years to come.