
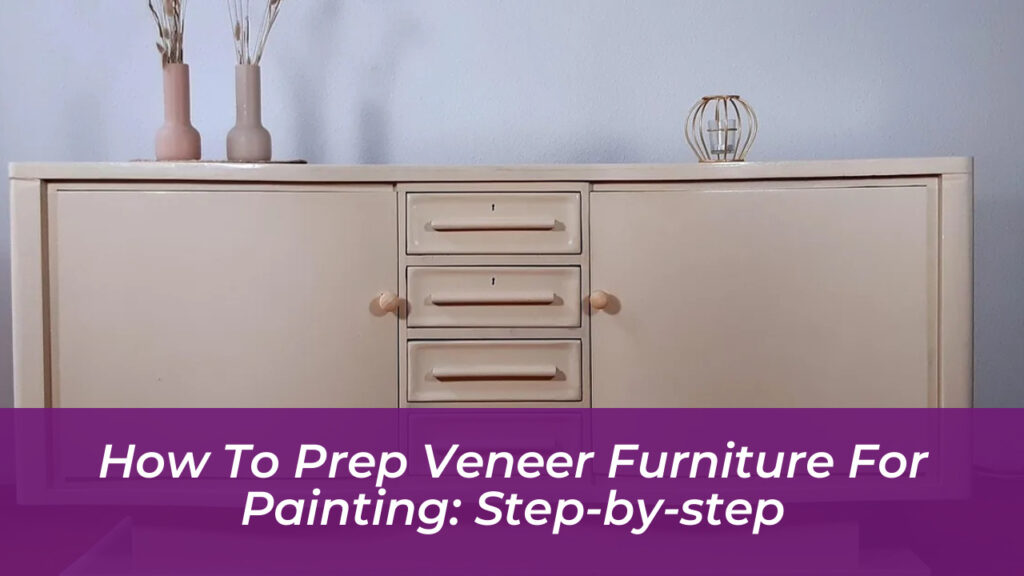
Breathing new life into an outdated dresser or a tired tabletop starts long before you pick up a brush. When working with wood veneer, the margin for error is slim. Because this material is often no thicker than a credit card, aggressive sanding or skipping steps can lead to peeling, bubbling, and permanent damage. Proper preparation turns a risky project into a durable, professional-grade finish that handles daily wear with ease.
Distinguishing Solid Wood from Veneer
Before you begin, determine your surface type. Wood veneer is a thin layer of hardwood-like oak, walnut, or cherry-glued over a stable core like particleboard or MDF. Manufacturers use it to provide the look of expensive lumber while keeping the piece affordable and stable.
Check the edges and grain patterns. On solid wood, grain lines wrap around corners and continue naturally. On veneer, the grain usually stops abruptly at the edge, often revealing a seam. Identifying this is vital; if you sand through the thin veneer, you will expose the composite core, which is nearly impossible to patch invisibly.
Essential Tools for Success
A smooth finish depends on having the right gear ready. Avoid improvising with coarse construction sandpaper or household rags, which can ruin the delicate surface.
- Abrasives: 180-grit and 220-grit sandpaper sheets or sanding sponges.
- Cleaning: A heavy-duty degreaser or TSP substitute and clean microfiber cloths.
- Repairs: Wood filler, carpenter’s glue, small clamps, and a flexible putty knife.
- Safety: An N95 mask for dust and nitrile gloves.
- Finishing: A high-performance bonding primer, tack cloths, and painter’s tape.
Repairing Surface Damage
Paint acts like a magnifying glass; any dents, scratches, or loose edges will stand out once the piece is finished. Inspect the furniture carefully before you start.
Check the corners where panels meet. If you find loose veneer, gently lift the edge, clean out any old dust or dried glue, and apply a small amount of wood glue. Press it back down and use a block of wood to clamp it firmly until the glue sets. For minor chips or deep scratches, use a putty knife to fill the void with wood filler. Overfill it slightly, as the filler will shrink as it dries. Once cured, sand the patch flush with 220-grit paper.
Deep Cleaning
Old furniture often carries layers of wax, furniture polish, and kitchen grease. Paint will not stick to these contaminants, leading to bubbling or peeling later. Wash every square inch with a degreaser or TSP substitute, paying extra attention to carved details and areas around hardware. Wipe the piece down with a fresh cloth dampened with water to remove any chemical residue, then let it dry completely for at least four to six hours.
Scuff Sanding
You do not need to strip the furniture to bare wood. Your goal is simply to remove the factory shine so the primer has something to grip. Put on your respirator and hand-sand the entire piece using 180-grit or 220-grit paper, moving in smooth, sweeping motions that follow the grain. Avoid power sanders, as they can burn through the veneer in seconds. Stop once the glossy sheen is gone and the surface looks dull. Finally, use a tack cloth to remove every trace of dust.
Choosing the Right Primer
Skipping primer is the fastest way to a failing finish. For veneer, choose your product based on the wood type:
- Waterborne Bonding Primers: These are excellent for gripping slick, non-porous surfaces and work well with most acrylic or latex paints.
- Shellac-Based Primers: If you are painting over tannin-rich woods like oak or mahogany, use a shellac-based primer to prevent yellow or brown stains from bleeding through your paint.
Applying Primer and Paint
Start by “cutting in” the corners and intricate trim with a high-quality synthetic brush. Use a dense foam roller for flat surfaces to ensure a smooth, uniform coat. Apply one thin layer and let it dry according to the label-usually one to three hours. If the surface feels rough, lightly buff it with a 320-grit sponge and wipe it clean.
When applying your topcoat, remember that two or three thin coats are far more durable than one heavy layer. Always respect the recoat times listed on the paint can to avoid trapping moisture, which leads to a soft or tacky finish. Remove all hardware before you start, and wait until the final coat is fully dry before reinstalling it.
The Curing Process
There is a difference between paint that feels dry and paint that has fully cured. While your furniture might feel dry to the touch in a few hours, the chemical hardening process takes one to three weeks. Treat your piece gently during this time; avoid placing heavy decor on it or sliding items across the surface until it has reached its full hardness. With a little patience, your restored furniture will look beautiful for years to come.



