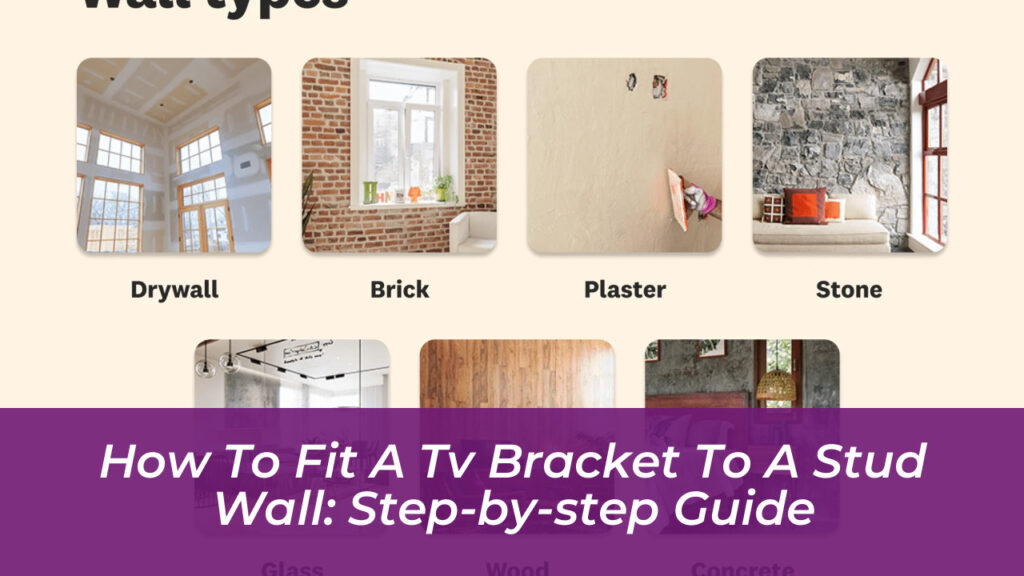
Mounting your television on a stud wall transforms your living space, clears away bulky media furniture, and gives your room a sleek, modern finish. Yet, the thought of drilling into your living room walls while supporting an expensive screen can cause hesitation. Success comes down to preparation, accurate measurements, and understanding the structural limitations of standard interior walls. When done correctly, the process is straightforward, secure, and entirely manageable within an afternoon.
Drywall alone lacks the structural integrity to support the dynamic load of a modern flat-screen display. While plaster or gypsum boards easily hold lightweight picture frames, they will crumble or shear under the weight and leverage of a television, especially if you pull an articulating arm outward. Anchoring your bracket directly into the wooden framework behind the drywall provides the essential load-bearing strength needed for long-term safety.
Essential Tools and Materials Needed
Before touching a drill or unpacking your equipment, gather your tools. Having everything within arm’s reach prevents frustrating interruptions midway through the installation. Skipping cheap, generic hardware kits in favor of reliable, heavy-duty components ensures your peace of mind.
- Digital Stud Finder: Select a reliable sensor that detects both wood density and edge boundaries rather than relying on basic magnetic models.
- Cordless Drill and Driver: A variable-speed 12V or 18V drill provides the consistent torque necessary for driving heavy-duty fasteners.
- Bubble Level: A 24-inch torpedo level guarantees your screen hangs perfectly straight, as visual estimation often fails on textured walls.
- Tape Measure and Painter’s Tape: Essential for mapping height offsets and marking stud centers without leaving permanent pencil marks on your paint.
- Socket Wrench: Required for driving heavy structural lag bolts smoothly into wooden framing members.
- Appropriate Fasteners: Hardened steel wood screws or lag bolts matching the specifications outlined in your bracket manual.
Take time to inspect the hardware package included with your wall mount. Many budget mounts ship with generic screws that may strip easily or lack sufficient corrosion resistance. Investing a few dollars in certified, high-grade structural screws significantly enhances the overall safety of your installation.
Choosing the Right Wall Bracket and VESA Pattern
Mount selection depends heavily on your room layout, viewing angles, and the physical dimensions of your television. Modern displays use a standardized mounting layout on the rear chassis known as the VESA pattern. This measurement represents the horizontal and vertical distance between the four threaded mounting holes, expressed in millimeters, such as 400×400 mm.
Check your TV manual or measure the hole spacing directly to match your bracket’s compatible range. Beyond sizing, consider the three primary bracket configurations available on the market:
- Fixed Brackets: These hold the screen flush against the wall, creating the cleanest, lowest-profile aesthetic for installations positioned directly at seated eye level.
- Tilting Brackets: These allow the screen to angle downward by 10 to 15 degrees, making them ideal for bedrooms or installations mounted higher up a wall.
- Full-Motion Brackets: Featuring articulating arms, these units pull out, swivel, and tilt, accommodating multi-zone seating areas and corner placements.
Determining the Ideal Mounting Height
Mounting a TV too high remains the single most common mistake homeowners make. While commercial displays in airports or sports bars sit high above normal viewing planes, residential setups require a more ergonomic approach to prevent persistent neck strain.
For standard living room viewing, position the center of your television screen at seated eye level, which typically lands between 42 and 48 inches from the finished floor. Sit on your primary sofa or armchair, relax into your normal posture, and have a helper mark the spot where your natural gaze rests. Your screen center should align directly with that point. If your layout forces a higher installation, pair it with a tilting bracket to maintain a comfortable viewing angle.
Locating and Verifying Wall Studs
Residential framing in North America relies on wooden studs spaced either 16 inches or 24 inches apart on center. Finding these structural members requires patience and accuracy.
Turn on your digital stud finder and glide it slowly horizontally across your target wall space. Mark both the left and right edges of each stud with small pieces of painter’s tape. The true center sits precisely halfway between these two edge marks. To verify accuracy, cross-check your readings at multiple heights along the same vertical line, ruling out any hidden obstructions or bowed framing.
Confirm your findings by driving a small test nail through the drywall inside the area that the wall plate will eventually cover. If the nail meets solid wooden resistance after passing through the half-inch drywall layer, you have successfully located the stud center. If the nail pushes straight through into hollow space, reposition your measurements.
Step-by-Step Installation Guide
With your location confirmed, studs marked, and tools prepared, you can begin the physical installation process. Take your time with each step to ensure total stability.
Step 1: Position and Level the Wall Plate
Hold the mounting wall plate against the wall, centering it carefully over your verified stud marks. Place your bubble level on top of the plate. Once the bubble centers perfectly, use a pencil to mark each structural screw hole location directly onto the wall.
Step 2: Drill Pilot Holes
Never drive heavy lag bolts directly into raw wood without drilling pilot holes first; doing so risks splitting the stud or stripping your fastener heads. Use a drill bit sized slightly smaller than the shank of your lag bolts. Drill straight inward to a depth matching the length of your fasteners.
Step 3: Mount the Wall Plate Securely
Position the wall plate back over your drilled pilot holes. Insert your lag bolts through the plate washers and into the wood. Hand-tighten the fasteners initially to ensure proper thread alignment, then switch to your socket wrench. Drive the bolts down until the plate sits completely flush against the drywall. Avoid over-torquing, as excessive pressure can crush the drywall backing or strip the wood fibers.
Step 4: Attach Brackets to the Television
Lay your television face down on a clean, soft, padded surface like a carpeted floor or a large blanket. Align the vertical mounting arms with the threaded VESA holes on the back of the chassis. Select the correct bolt length and plastic spacers from your hardware kit, ensuring the screws thread in smoothly without bottoming out prematurely against internal components.
Step 5: Lift and Secure the Display
Because modern large-format displays are heavy and awkward, enlist a second person for this step. Lift the television carefully, align the mounting arms with the installed wall plate, and hook them securely into place. Listen for any positive mechanical clicks indicating the frame is seated.
Crucially, engage any built-in safety locking screws or retaining clips located at the bottom of the mounting arms. These mechanisms prevent the television from accidentally lifting off the rail if bumped from below. Give the mounted screen a firm, gentle tug in all directions to verify absolute stability.
Managing and Hiding Your Cables
A wall-mounted television loses much of its aesthetic appeal if a tangle of black cords drapes down the drywall. Effective cable management elevates your installation from amateur to professional.
For a clean surface solution, install a paintable plastic cable raceway directly beneath the mount. This surface-mounted channel snaps over your power cords and HDMI cables, keeping them organized while matching your wall color. If you prefer a completely invisible finish, consider in-wall cable routing. Always ensure that any power cables run inside the wall utilize a specialized, code-compliant power relocation kit rather than standard extension cords, which violate electrical safety codes.
Troubleshooting Common Installation Issues
Even well-planned projects occasionally present unexpected challenges. Knowing how to adapt keeps your installation safe and frustration-free.
- The bracket holes do not align with standard stud spacing: If your specific bracket design requires two studs but your framing spacing does not match, install a three-quarter-inch plywood backer board across three studs first. Paint the board to match the wall, then mount your bracket securely anywhere across its face.
- The wall plate feels loose after tightening: If a lag bolt spins freely, the wood framing behind the drywall has likely stripped out. Remove the bolt, relocate your wall plate slightly up or down to fresh wood, and drill a new pilot hole.
- The screen hangs slightly crooked: Most quality brackets feature micro-adjustment screws designed to correct minor leveling discrepancies post-installation without requiring you to remove the entire television.
Fitting a TV bracket to a stud wall is a rewarding DIY project that combines basic carpentry with precision measuring. By respecting the structural limitations of your walls, verifying your stud locations, and securing every fastener properly, you create a safe, professional entertainment setup that you will enjoy for years to come.