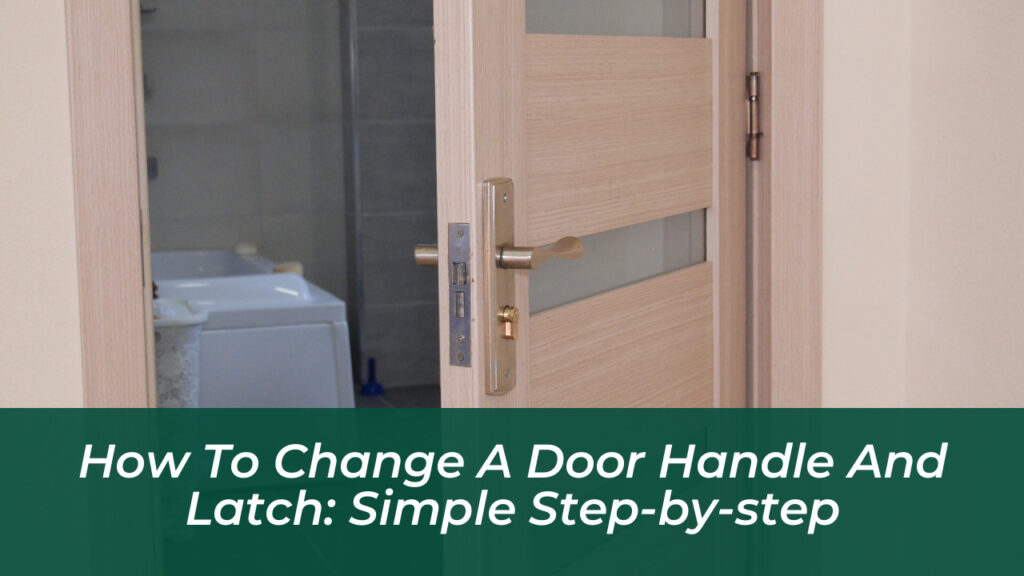
Upgrading your worn-out or loose door hardware is one of the most satisfying home improvement projects you can tackle in an afternoon. Whether you are dealing with a sticky latch, a wobbly lever, or simply want to refresh your interior design style, replacing a door handle and latch requires only a few basic tools and a bit of patience. Best of all, you don’t need to call in a professional or buy specialized gear. By understanding how your door is built, measuring your backset correctly, and following a clear installation sequence, you can achieve clean results that elevate the entire feel of your room.
Why It Might Be Time for a Hardware Upgrade
Door handles and latches endure heavy daily use. Over months and years of constant twisting, pulling, and slamming, internal springs weaken, screws strip out, and finishes begin to discolor. Beyond physical wear, outdated hardware can quietly date an otherwise beautifully decorated interior. Swapping out cheap, builder-grade knobs for sleek matte black levers or brushed brass handles injects an instant sense of custom design and architectural cohesion into your space.
Functionality is another major driver for replacement. A sagging handle that fails to return to its horizontal position or a latch bolt that drags instead of sliding freely makes closing doors an annoying chore. For exterior doors, upgrading worn security hardware directly impacts your home safety. Fortunately, modern residential door preparations are largely standardized, making swaps remarkably straightforward if you take a few careful measurements before making your purchase.
Essential Tools and Materials You Will Need
Before you take a single screw out of your door, gather your supplies in one convenient spot. Having everything on hand prevents frustrating interruptions halfway through the job. Most standard residential door installations require a very modest toolkit:
- Phillips Head Screwdriver: Essential for driving standard mounting screws on both handles and latch faceplates.
- Flathead Screwdriver: Useful for prying off stubborn decorative cover plates or releasing spring-clip mechanisms.
- Measuring Tape: Critical for verifying your door’s backset and thickness before purchasing a replacement set.
- Pencil: For marking new screw holes or strike plate alignments if you are changing hardware styles.
- Clean Cloth: To wipe away years of accumulated dust and grime hidden beneath your old hardware.
- Wood Filler and Toothpicks (Optional): Handy for repairing stripped screw holes in the door edge or jamb.
Door Backset Measurements
The single most common mistake DIYers make when replacing a door handle is failing to check the backset. The backset is simply the precise distance from the outer edge of the door to the exact center of the main bore hole where your handle mechanism passes through.
In standard North American residential construction, interior doors almost universally feature a 2-3/8 inch backset, while exterior or heavy-duty doors often use a 2-3/4 inch backset. Many modern replacement handles ship with an adjustable latch mechanism that accommodates both standard sizes, but you should never guess. Measure your existing door carefully with your tape measure before heading to the hardware store or ordering online. Buying the wrong backset means your new latch will fall short of the strike plate, leaving your door incapable of staying shut.
Step 1: Removing the Old Door Handle and Latch
With your tools ready, prop your door half-open and wedge a door stop underneath to prevent it from swinging or closing while you work. If your handle features visible mounting screws on the interior side, use your screwdriver to back them out completely. Keep these old screws in a small container in case your new hardware package is missing a piece, though most new sets include fresh matching screws.
Once the screws are removed, gently pull the interior and exterior halves of the handle away from the door. Some modern handles lack visible screws on the face; instead, they feature a small pressure-release slot on the underside or side of the neck. Insert your flathead screwdriver into this slot, press inward to depress the internal retaining clip, and slide the handle off the spindle.
Next, pry off the decorative cover plates to expose the inner mounting chassis. Unscrew and remove these inner plates. Finally, walk to the edge of the door, unscrew the two small screws holding the latch faceplate in place, and slide the entire latch mechanism out of its bored housing. If the old latch feels stuck from years of paint buildup, tap it gently with the wooden handle of a screwdriver or use a narrow chisel to break the paint seal.
Step 2: Preparing and Cleaning the Door Surface
Once your old hardware is completely stripped away, take a moment to look at the exposed wood or composite material inside the door bore and along the edge. Years of hand oils, dust, and old lubricant invariably accumulate behind decorative plates. Take your damp cloth and wipe down the entire area.
A clean mounting surface ensures your new handle sits completely flush against the door without wobbling or pinching the mechanism. If you are switching from a bulky rectangular backplate to a minimalist round rosette, inspect the surface for old screw holes, scratches, or faded paint outlines. You may need a small dab of wood filler and a touch-up pen to conceal these blemishes before installing your new hardware.
Step 3: Installing the New Latch Assembly
Your new hardware kit will include a fresh latch assembly. Take this mechanism and slide it directly into the hole on the edge of the door. Pay close attention to orientation: the slanted, angled side of the latch bolt must face toward the direction the door closes. If installed backward, your door will hit the frame with a harsh metal-on-metal crash instead of gliding smoothly into the strike plate.
Push the latch unit in until the metal faceplate rests completely flush against the edge of the door. If the wood recess is slightly too shallow or narrow, use a sharp wood chisel to pare away tiny shavings until the plate sits dead level with the door edge. Secure the latch by driving the provided screws into the top and bottom holes, tightening them firmly.
Step 4: Assembling the Spindle and Handles
With the latch firmly in place, slide the central spindle through the opening in the latch mechanism so that it extends evenly on both sides of the door. The spindle is the metal bar that transfers the rotational movement of your hands into the latch retraction mechanism.
Position the exterior handle or lever against the outside of the door, guiding its mounting posts through the appropriate cutouts around the spindle. Next, align the interior handle assembly on the opposite side. Insert the mounting screws through the interior plate and thread them into the posts of the exterior handle.
Before you crank those screws down with all your strength, check your alignment. Tighten the screws alternately-a few turns on the top, a few turns on the bottom-to keep the pressure even. Overtightening can warp the internal chassis, causing the handle to stick or refuse to spring back to horizontal. Test the operation immediately by turning the handle in both directions; the latch bolt should retract smoothly and completely without binding.
Step 5: Inspecting and Upgrading the Strike Plate
The strike plate is the metal piece mounted to your door frame that receives the latch bolt when the door closes. Many homeowners skip this step, but installing the new strike plate that came with your handle set ensures optimal alignment and color matching.
Close your door slowly and observe where the latch bolt hits the frame. If it centers perfectly inside the opening of the old strike plate, you can leave it alone. However, if your new hardware has a slightly different geometry, you may need to swap the plate. Unscrew the old strike plate, align the new one, and mark any screw holes that differ. If your latch bolt rubs against the top or bottom lip of the strike plate, use a small file to widen the opening or adjust the small metal tang found on most modern strike plates.
Troubleshooting Common Door Hardware Problems
Even with careful installation, minor alignment issues can crop up once you start using your new handle daily. Here is how to diagnose and fix the most frequent hiccups:
- The handle feels loose or wobbly: The mounting screws on the interior plate need tightening. If the screws spin freely without tightening, the wood screw holes inside the door have stripped out. Remove the handle, fill the hole with wood glue and a couple of wooden toothpicks, let it dry, and re-drive the screw.
- The latch sticks and won’t pop out: The faceplate might be screwed down too tightly, pinching the internal spring housing slightly, or the latch is misaligned with the strike plate. Loosen the faceplate screws by a half-turn or adjust the position of your frame strike plate.
- The key turns hard in an entry lock: Apply a small puff of graphite powder or a drop of dry Teflon lubricant into the keyway and latch mechanism. Avoid using heavy household oils or wet lubricants, which attract dust and eventually gum up the internal pins.
Final Quality Check and Maintenance
Once your new door handle and latch are fully secured, open and shut the door at least ten times. Pay close attention to the tactile feedback. The action should feel crisp, quiet, and effortless. The latch should engage the strike plate with a satisfying click, and the handle should spring back to its resting position instantly upon release.
To keep your new hardware looking pristine for years to come, establish a simple maintenance routine. Wipe down metal finishes weekly with a soft, damp microfiber cloth. Avoid abrasive scouring pads or harsh chemical cleaners, as these can strip protective lacquers and specialized finishes like matte black coatings or oil-rubbed bronze patinas. A quick check of the mounting screws every six months will keep your handles feeling solid, secure, and brand new.