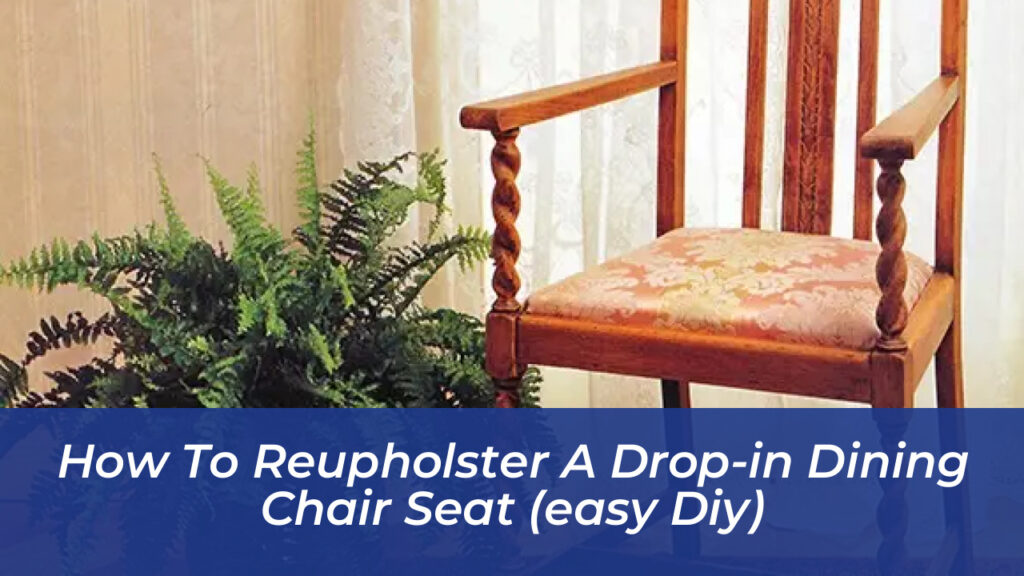
Breathing new life into tired dining room furniture is one of the most rewarding weekend projects you can tackle. Worn, stained, or dated fabric can drag down an entire dining space, but replacing the whole set is expensive and unnecessary. Drop-in seat dining chairs feature removable panels that make them exceptionally beginner-friendly. By swapping out old textiles, refreshing compressed foam, and applying crisp new fabric, you can achieve a custom look at a fraction of the cost.
This guide walks you through every phase of the process, from stripping away decades-old layers down to the bare wooden frame to achieving crisp, professional corners that will withstand daily family dinners.
Gathering Your Tools and Materials
Before turning a single screw, gather everything you need. Having your supplies ready prevents mid-project trips to the hardware store and ensures a durable finish.
- Upholstery Fabric: Choose medium-to-heavyweight furnishing fabrics rated for high durability, such as canvas, heavy cotton, tweed, or treated linen. Avoid delicate silks or lightweight drapery fabrics that snag or wear thin quickly.
- High-Density Foam: 1-inch to 2-inch thick high-density upholstery foam provides firm support and long-lasting comfort.
- Polyester Batting: This insulating fleece layer softens sharp foam edges and gives the cushion a smooth dome shape.
- Staple Gun: A pneumatic staple gun makes quick work of thick wood, though a heavy-duty manual spring stapler or electric staple gun also works.
- Staples: 3/8-inch or 1/2-inch heavy-duty staples designed to anchor securely into solid wood or composite bases.
- Hand Tools: Flathead screwdriver, heavy-duty pliers or a staple lifter, fabric scissors, a serrated bread knife for cutting foam, and a permanent marker.
Step 1: Removing the Seat from the Chair Frame
Clear a spacious work table or workbench. Turn your dining chair upside down to inspect how the seat attaches to the frame. Most drop-in seats are secured by four screws located in corner blocks or recessed brackets beneath the wooden frame.
Use a screwdriver to remove these screws counter-clockwise. Keep the hardware in a small bowl or magnetic tray so nothing rolls away. Once the screws are out, gently push the seat panel upward from underneath. It should slide or pop free from its recess without forcing the surrounding wood. Place the wooden chair frame safely to the side.
Step 2: Stripping Away Old Fabric and Padding
Flip the detached seat cushion upside down. You will likely see an outer upholstery fabric folded over the edges, secured by dozens of old staples or metal tacks. In some vintage chairs, a thin black dust cover protects the underside and must be peeled back first.
Slide the flat edge of a screwdriver or a staple lifter underneath the crown of an old staple. Pry upward to loosen it, then grip the staple with your pliers and pull it straight up. Work around the perimeter until every old staple is removed. Pull away the outer fabric. If the old foam is flattened, crumbling, or smells musty, strip it away down to the bare wood or particleboard. Sturdy wooden bases can be wiped clean with a damp cloth and reused.
Step 3: Cutting and Applying New Foam and Batting
A comfortable dining seat relies on dense, resilient cushioning. If your old cushion lacked support, replacing the foam makes your chairs feel brand new.
- Place your bare seat base directly onto your new sheet of high-density upholstery foam.
- Trace around the outer perimeter of the board using a permanent marker.
- Using a sharp serrated bread knife or an electric carving knife, cut cleanly along your traced lines, holding the knife vertically for even edges.
- Apply a light, even mist of spray adhesive to the top surface of the seat board and press your freshly cut foam firmly into place. Allow it a few minutes to bond.
- Cut a piece of polyester batting large enough to cover the top foam cushion and drape over all four side edges with an extra 2 inches to spare.
Center the foam-topped seat face down onto the batting. Pull one side of the batting taut across the bottom edge of the board and secure it with a single staple in the center. Move to the opposite side, pull the batting firmly to eliminate slack, and place a staple. Repeat for the remaining two sides. Trim away excessive bulk around the corners by folding the fleece neatly and stapling it flat.
Step 4: Positioning Your Upholstery Fabric
If you are working with a solid-colored fabric, cutting is straightforward. If your chosen textile features a prominent geometric pattern, stripes, or large floral motifs, pattern placement requires careful forethought.
Lay your upholstery fabric face down on your work surface, ensuring it is flat and free of wrinkles. Place your prepared seat cushion face down on top of the fabric. Check the orientation from different angles to ensure directional patterns or center motifs align symmetrically with the front and back edges of the seat. Cut around the cushion, leaving a generous 3 to 4-inch margin of excess fabric extending past the edges of the board on all four sides.
Step 5: Stapling the Fabric Securely
The secret to professional-grade upholstery is maintaining consistent tension as you staple. Working from the center outward prevents the fabric from puckering.
- Grasp the center edge of the fabric on the front side of the seat. Pull it firmly up and over the wooden edge, wrapping it tightly across the batting.
- Place a single staple directly into the center of the front edge.
- Move to the exact opposite side (the back edge), pull the fabric straight and taut, and anchor it with a center staple.
- Repeat this process for the two remaining side edges. Your fabric should now be anchored at four cardinal points.
- Working outward from your center staple toward the corners, place additional staples spaced roughly one inch apart. Continue pulling the fabric outward and upward as you staple along all four sides, stopping about two inches shy of each corner.
Step 6: Mastering Corner Folds
Corners present the greatest challenge for beginners, but mastering a clean fold eliminates unsightly bunching.
Gently pull the loose fabric at the corner straight up and over the corner peak of the foam. Smooth the excess fabric into a neat fold on one side, pressing it flat against the underside of the wood. Fold the remaining flap over the top of the first fold, similar to wrapping a gift. This creates a clean diagonal crease. Pull the folded fabric tightly toward the center and secure it with two or three staples right into the fold. Trim away bulky excess fabric about one inch away from your staple line to keep the underside tidy.
Step 7: Reattaching the Dust Cover and Reassembling
To give your restored dining chair a finished look that hides raw edges, attach a simple black cambric or lightweight lining fabric as a dust cover.
Cut your lining fabric to match the dimensions of the seat base. Fold the raw edges under slightly all the way around so they sit just inside the outer staple line. Starting at the front edge, fold the edge under and staple it cleanly to cover all previous upholstery staples. Work your way around the perimeter, pulling the fabric taut.
Take your newly upholstered drop-in seat pad and align it back into the recessed wooden frame of your dining chair. Turn the chair upside down and secure the seat using the original screws. Tighten them firmly, but avoid over-tightening into older wood.
Care and Maintenance Tips
With your dining chairs updated, proper maintenance preserves your work. Treat your new fabric with a protective textile spray designed to repel liquid spills and food stains before using the chairs. For everyday cleaning, vacuum the seat crevices periodically with a soft upholstery brush attachment to remove microscopic dust and crumbs.