
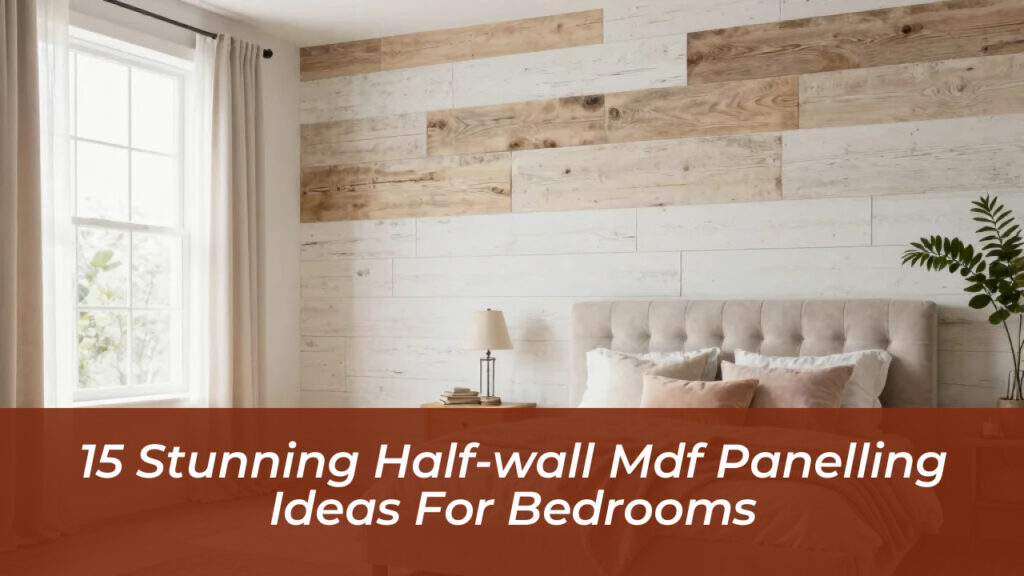
Few weekend updates transform a bedroom quite as dramatically as installing half-wall MDF panelling. Whether you want to add architectural interest to a plain plaster wall or protect high-traffic areas from scuffs and bumps behind the bed, medium-density fiberboard offers a smooth, budget-friendly solution. Because MDF is exceptionally stable, easy to cut, and takes paint flawlessly, it has become a favorite for DIY wainscoting and wall treatments.
Choosing the right design involves balancing your room’s proportions, ceiling height, and personal taste. From clean-lined board and batten to sophisticated grid patterns, these half-wall concepts will help you turn an ordinary sleeping space into a custom retreat.
1. Classic Board and Batten for Timeless Charm
Board and batten is arguably the most popular choice for bedroom interiors. By applying flat vertical MDF boards at regular intervals over a solid backing or directly onto the wall, you create crisp vertical lines that subtly draw the eye upward.
To execute this look, space your battens between 16 and 24 inches apart, depending on the overall width of the wall. Finish the top edge with a sleek chair rail molding to create a functional ledge for framed prints or small decor pieces. Painted in a moody charcoal or a soft, warm greige, board and batten adds instant character without making a compact room feel cramped.
modern bedroom board and batten MDF half wall panelling painted gray
2. Modern Minimalist Flat-Panel Wainscoting
If traditional trim feels too busy for your space, opt for a modern minimalist approach using smooth MDF panels. Instead of layered picture frames or beads, use wide, flat strips of MDF with minimal spacing between joints.
This style emphasizes clean architectural lines and a monochromatic color scheme. Paint both the wall and the panelling the exact same matte color-such as a deep olive green or dusty terracotta-to create a seamless, cocoon-like atmosphere that makes a bedroom feel exceptionally calm and grounded.
3. Sophisticated Grid-Style Lower Walls
Grid patterns usually span full floor-to-ceiling heights, but adapting them into a half-wall format yields a striking geometric statement. By intersecting vertical and horizontal MDF strips to form a series of uniform squares or rectangles, you introduce structural depth.
This layout works brilliantly behind a platform bed, acting as a built-in headboard alternative. Keep the squares proportional to your wall width; smaller 12-inch squares offer a busy, traditional look, while wider 18-to-24-inch squares keep the aesthetic contemporary and uncluttered.
4. Traditional Picture Frame Molding
For a heritage or transitional bedroom style, picture frame moulding constructed from lightweight MDF profiles delivers timeless elegance. The technique involves gluing and nailing pre-mitered rectangular frames onto the lower half of the drywall.
The secret to a high-end finish with picture frames is precision spacing. Leave roughly three to four inches between each frame and match the bottom rail to your existing baseboards. When painted in crisp, semi-gloss white against a muted wallpaper on the upper wall, this design bridges the gap between classic architecture and modern living.
5. Two-Tone Contrast and Chair Rail Drama
Half-wall panelling provides the ultimate canvas for color blocking. Using a two-tone palette allows you to experiment with daring shades on the lower half while keeping the upper wall light and airy.
Try painting your MDF boards a rich navy blue or forest green up to the chair rail, and transition to a warm cream or soft beige above. This grounds the room visually and prevents darker colors from overwhelming a smaller bedroom.
bedroom interior two tone MDF wall panelling dark blue and cream
Determining the Ideal Height and Proportions
Getting the height right is the single most important step in any panelling project. Installing your half-wall at an arbitrary height can throw off the visual balance of the entire room.
- The One-Third Rule: For standard 8-foot ceilings, a panelling height of roughly 32 to 36 inches (about one-third up the wall) keeps proportions classic and matches standard furniture heights like dressers and window sills.
- The Half-Way Mark: If you have higher ceilings (9 feet or more), pushing the panelling up to the 48-inch mark-or exactly halfway-creates a bolder architectural statement.
- Bedhead Alignment: Always measure your bed frame and nightstands before cutting boards. Ideally, your chair rail should sit either a few inches above your headboard or align cleanly with it to avoid awkward overlapping lines.
Why MDF is the Ultimate Material for Bedroom Panelling
While solid wood has its place, medium-density fiberboard remains the preferred material for interior wall treatments for several distinct reasons:
| Feature | MDF Panelling | Solid Wood |
|---|---|---|
| Surface Texture | Extremely smooth, knot-free, and grainless | Natural grain, knots, and occasional blemishes |
| Cost | Highly affordable and budget-friendly | Significantly more expensive |
| Stability | Resists warping, splitting, and seasonal expansion | Prone to warping with humidity changes |
| Paint Finish | Absorbs paint evenly for a factory-like sprayed look | Requires extensive sanding, priming, and grain filling |
Step-by-Step DIY Installation Overview
Tackling an MDF wall project over a weekend is entirely achievable if you take your time. Follow this workflow to ensure professional results:
- Prep the Surface: Clean the wall thoroughly. If you are applying MDF directly to drywall, lightly sand glossy paint to help construction adhesive grip securely.
- Plan Your Layout: Map out your batten or panel spacing with a pencil and a laser level. Account for electrical outlets and light switches, marking where you will need to notch out panels.
- Cut Your Materials: Measure twice and cut your MDF strips using a miter saw or circular saw with a fine-tooth blade to prevent splintering.
- Adhere and Secure: Apply a heavy-duty construction adhesive to the back of each MDF piece. Press firmly against the wall and secure with a brad nailer into the wall studs where possible.
- Fill and Caulk: Fill all nail holes with wood filler and run a smooth bead of paintable caulk along every seam where the MDF meets the wall or adjacent trim.
- Prime and Paint: Apply an oil-based or shellac-based primer to seal the porous cut edges of the MDF. Finish with two coats of your chosen topcoat in a satin or semi-gloss sheen for durability.
Frequently Asked Questions
Can I install MDF panelling over textured walls?
Yes, you can. If your walls have a heavy knockdown or popcorn texture, applying thin MDF sheets as a solid backing layer before adding your battens ensures a completely flat, smooth finish.
Do I need to prime MDF before painting?
Absolutely. MDF acts like a sponge, especially along cut edges. Skipping the primer will result in uneven paint absorption and a dull, patchy finish. Always use a quality primer designed for wood composites.
What thickness of MDF is best for wall panelling?
For surface battens and trim work, a thickness of 1/4 inch (6mm) is ideal because it adds lovely shadow lines without protruding too far past your baseboards or door casings.