Want to upgrade your living room without spending $150 on a single textured canvas? You don’t need a massive budget to make your space look great. I’ve put together 7 simple handmade decor projects for a weekend that you can actually finish before Monday morning.
No power tools, no advanced crafting skills, and definitely no overpriced store-bought items. Just easy DIY home accents that look high-end and add real character to your space.
Before we jump into the tutorials, here is a quick breakdown of what to expect in terms of time and budget.
Weekend Project Quick Guide
| Project | Active Time | Dry/Cure Time | Estimated Cost |
| Plaster Canvas Art | 1 hour | 24 hours | $15 – $25 |
| Clay Footed Bowl | 45 mins | 24 – 36 hours | $10 – $12 |
| Fluted Glass Vase | 30 mins | 2 hours | $5 – $10 |
| Drop Cloth Pillows | 1 hour | 15 mins | $15 – $20 |
| Scrap Wood Riser | 20 mins | 2 hours | $2 – $5 |
| Botanical Frames | 15 mins | 48 hours | $12 – $18 |
| Pleated Lampshade | 1 hour | 30 mins | $8 – $15 |
1. Plaster-Style Textured Canvas Art
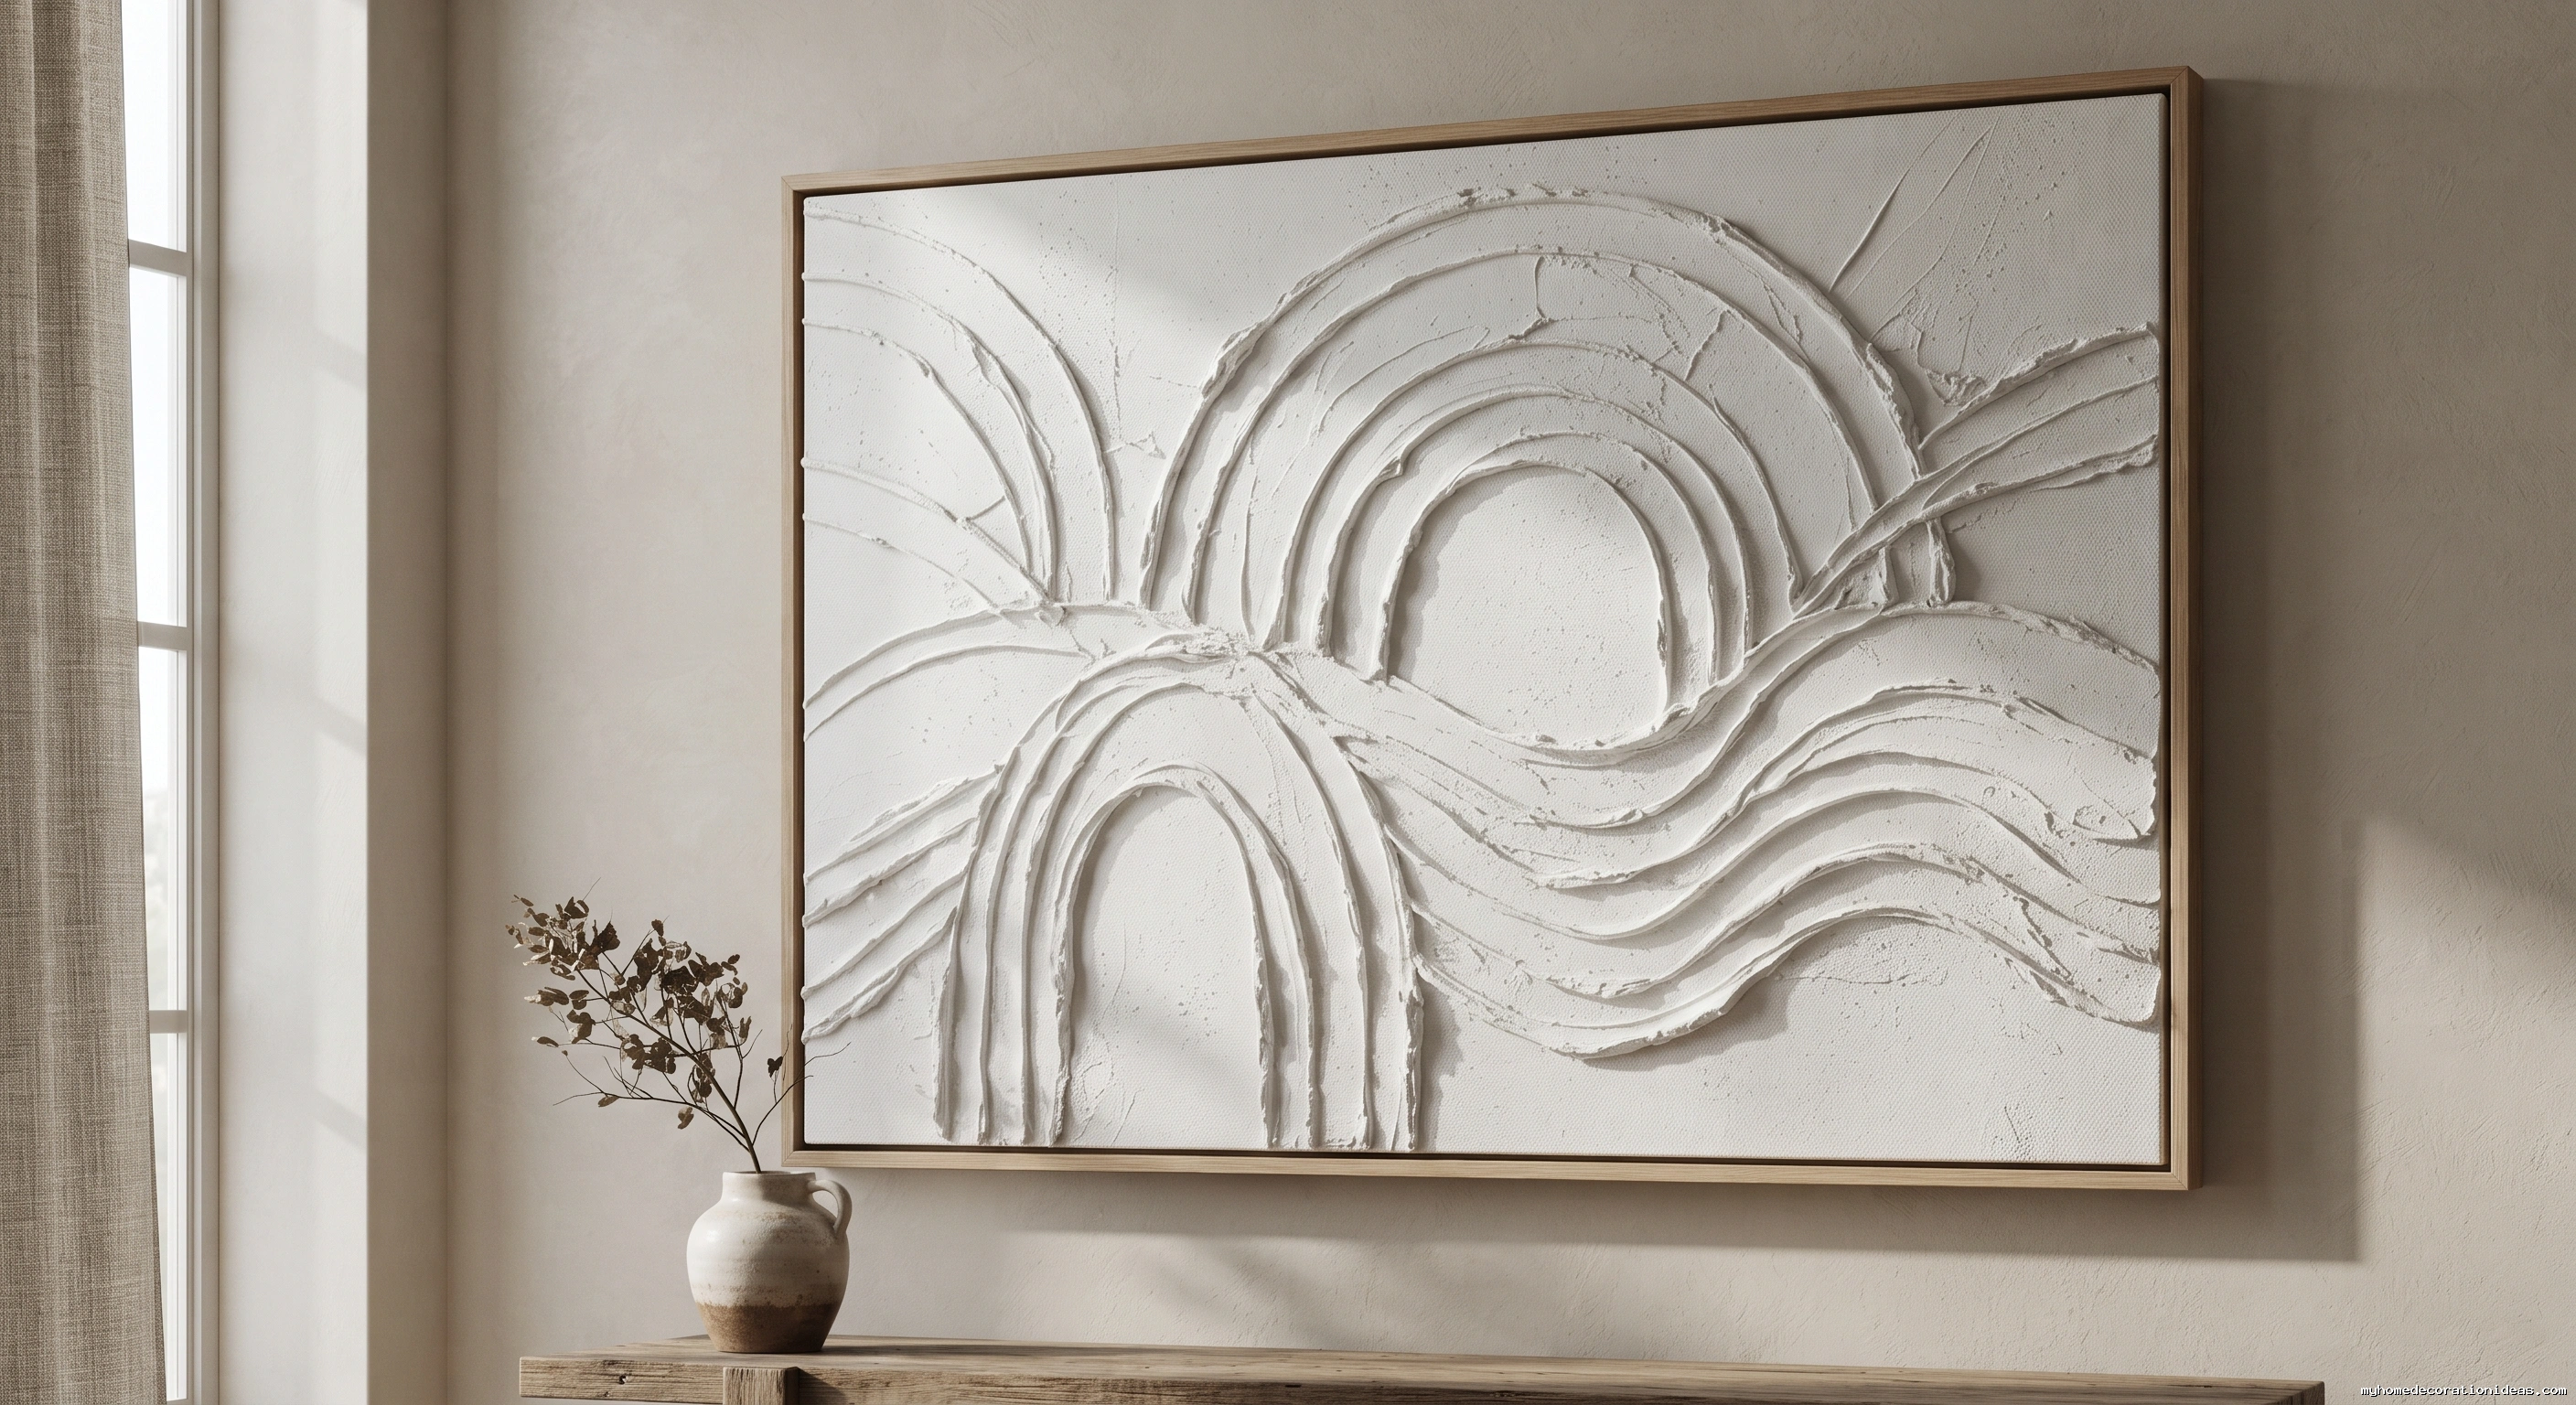
Store-bought cost: $150+ | DIY cost: $15
Textured art is everywhere right now. Instead of buying an expensive piece, you can make an oversized version using joint compound and a cheap blank canvas.
What you need: A stretched canvas (16×20 or larger), premixed joint compound, a putty knife (or notched trowel), and matte interior paint.
How to make it:
- Lay your canvas flat and wipe off any dust.
- Scoop a generous amount of joint compound onto the center.
- Spread it outward like frosting a cake. Keep it about 1/4 inch thick. (If you go thicker than half an inch, it might crack as it dries).
- Use your trowel or an old comb to carve arches or waves into the wet compound. Messed up? Just scrape it flat and try again.
- Let it dry flat for 24 hours, then roll on two light coats of matte paint.
My Personal Tip: When I made mine, I layered the compound a bit thicker on the side that catches the sunlight from my window. The shadows it creates throughout the day look amazing!
2. Air-Dry Clay Footed Pedestal Bowl
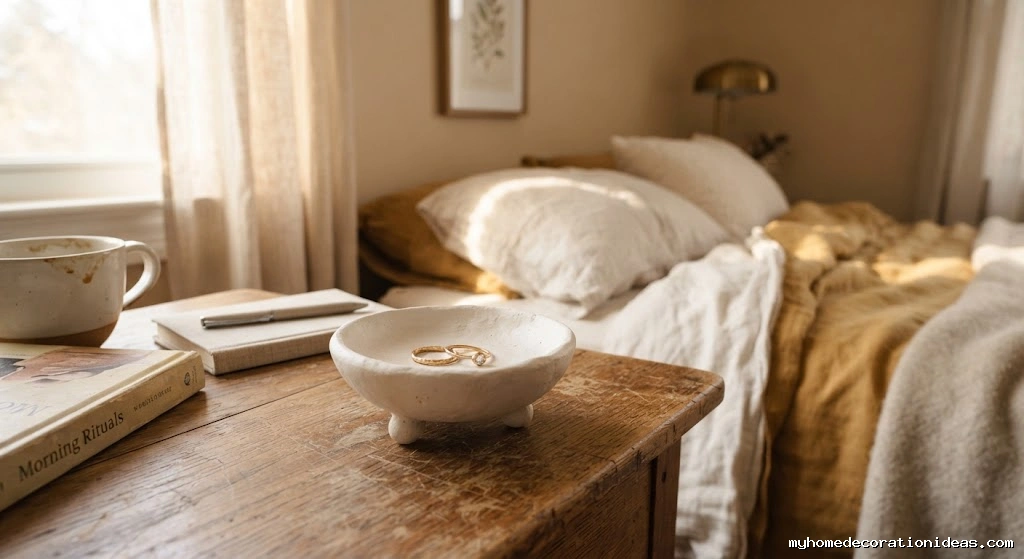
Small accent bowls are perfect for holding keys in an entryway or jewelry on a nightstand. Air-dry clay is brilliant because it requires zero baking and dries to a beautiful stone-like finish.
The Process:
Roll out 1-2 lbs of white air-dry clay (like Crayola or Das) until it’s 1/4 inch thick. Cut a circle using a dinner plate as a guide. Line a regular kitchen bowl with plastic wrap and gently press your clay circle inside to give it a bowl shape.
For the feet, roll three small clay balls. Score the bottom of your bowl and the balls with a fork, add a tiny drop of water, and press them on. Leave it in the mold for 12 hours, then flip it out onto a wire rack to dry completely. Sand any rough edges and seal it with a clear matte acrylic sealer.
Pro Tip: Don’t use too much water when smoothing the edges. I learned the hard way that excess water makes the clay take forever to dry and increases the chance of cracking.
3. Upcycled Ribbed Glassware (The Ultimate Thrift Flip)
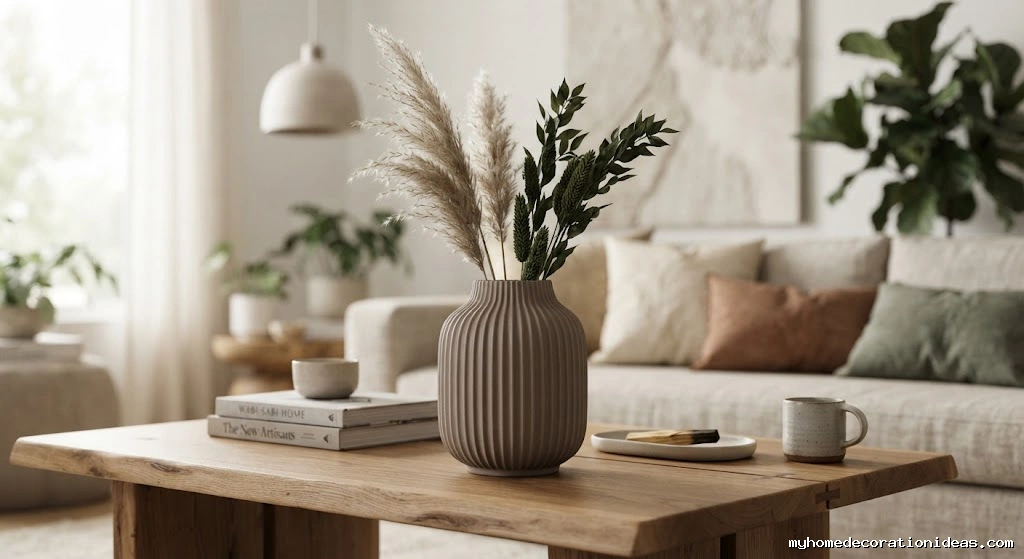
Thrift stores are packed with cheap, clear glass vases for a dollar. With a pack of wooden skewers and some baking soda paint, you can turn plain glass into a trendy fluted vessel.
- Step 1: Clean your thrifted vase with rubbing alcohol.
- Step 2: Cut wooden bamboo skewers to match the height of your vase.
- Step 3: Hot glue the skewers vertically around the entire glass.
- Step 4: Mix acrylic paint with a tablespoon of baking soda (it should feel like thick pancake batter). Paint over the skewers. The baking soda gives it a textured, ceramic look.
4. No-Sew Linen Drop Cloth Cushion Covers
Throw pillows can completely change a room, but buying new ones is expensive. Canvas painter’s drop cloths are 100% cotton, super durable, and a great budget room makeover hack. Plus, this requires zero sewing.
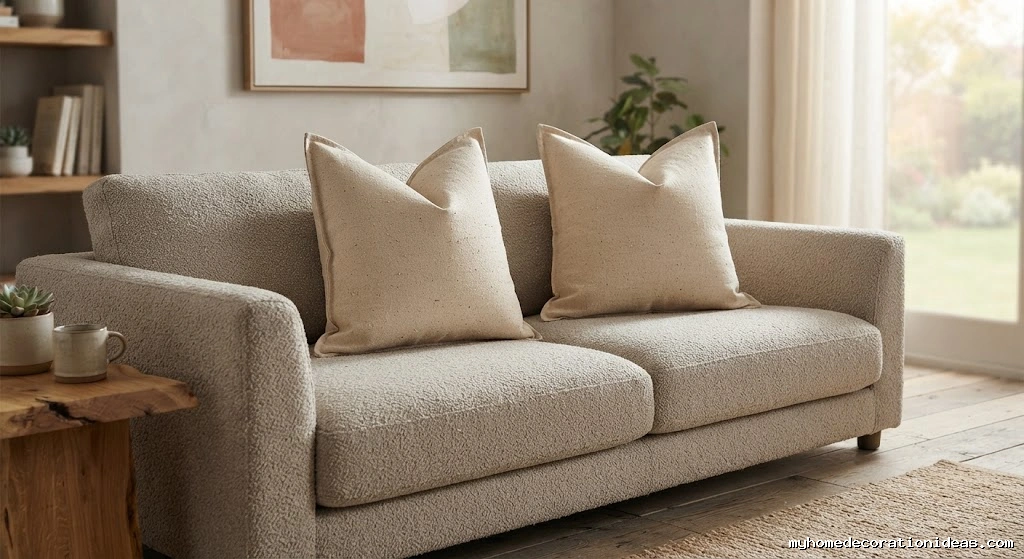
What you need: Washed canvas drop cloth, fabric scissors, iron-on bonding tape (like HeatnBond), an iron, and pillow inserts.
How to do it:
Cut your fabric for an envelope-style cover. For an 18-inch insert, cut one front square (19×19 inches) and two back rectangles (19×13 inches). Create a hem on the back pieces using your iron-on tape. Lay the front piece down (right side up), place the back pieces on top (overlapping in the middle), and use the bonding tape along the four outer edges. Iron it, let it cool, flip it inside out, and stuff your pillow!
5. Scrap Wood Pedestal Riser
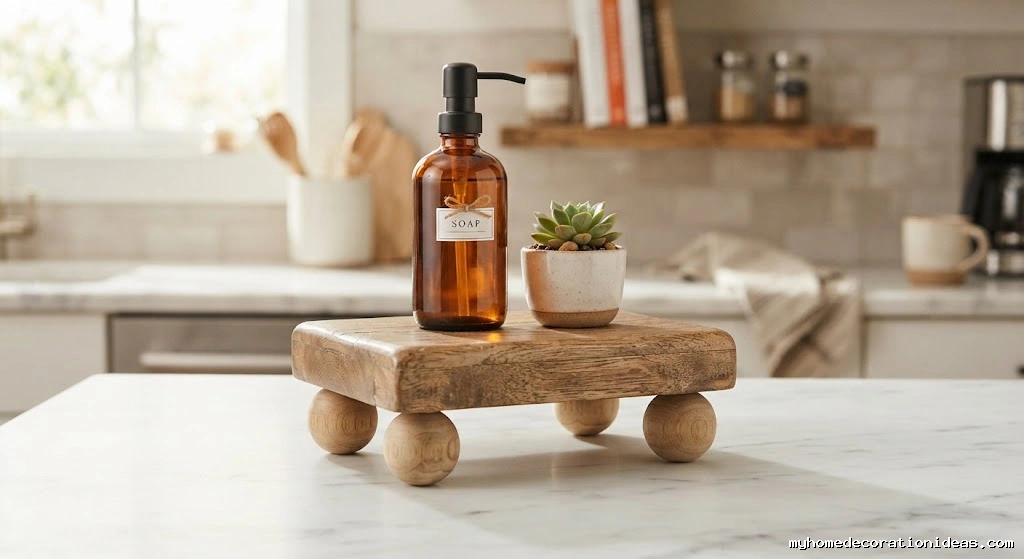
A small wooden riser next to your kitchen or bathroom sink helps organize everyday items like soap dispensers and lotions so the counter doesn’t look cluttered.
Grab a piece of scrap pine wood (about 10 inches long) and sand the edges smooth. Flip it over and use wood glue to attach four small wooden craft blocks or round beads to the corners as feet. Put a heavy book on top and let it dry for two hours. Once dry, rub your favorite wood stain over it with a rag, wipe off the excess, and you’re done. It’s that simple.
6. Pressed Botanical Floating Frames
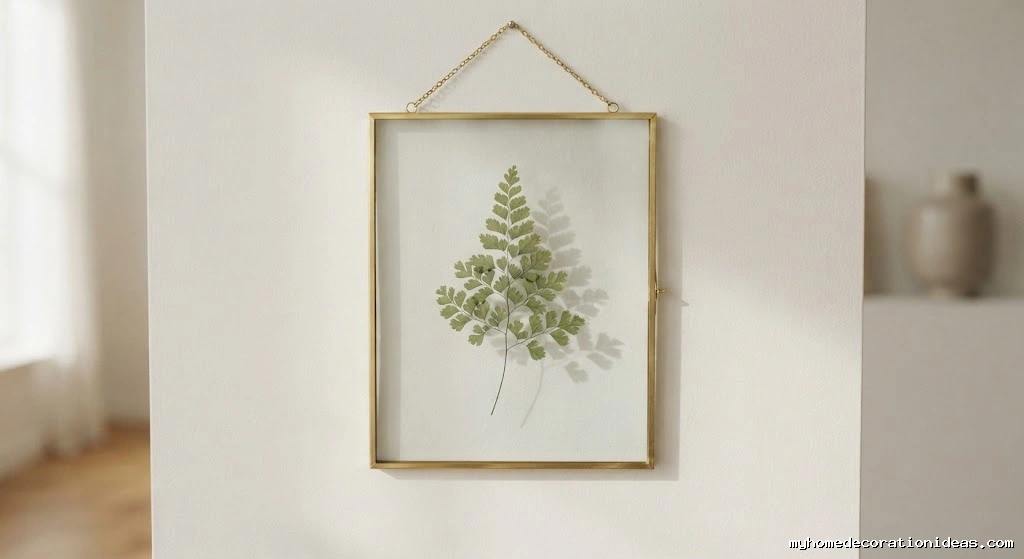
Instead of buying generic prints, use real dried greenery. It’s a fantastic renter-friendly decor idea that brings life to a blank wall.
Pick flat leaves or thin petals from your yard (ferns work great). Press them inside a heavy book between two sheets of parchment paper for 48 hours. Once flat and dry, place the leaf inside a glass floating frame. Use a tiny dot of clear craft glue behind the stem to keep it from slipping down the glass. Hang it near a window for a beautiful floating effect.
7. Pleated Fabric Lampshade Revamp
Plain lampshades can look a bit boring. Adding pleats using leftover cotton fabric or linen scraps is an easy way to give a thrift-store lamp a custom look.
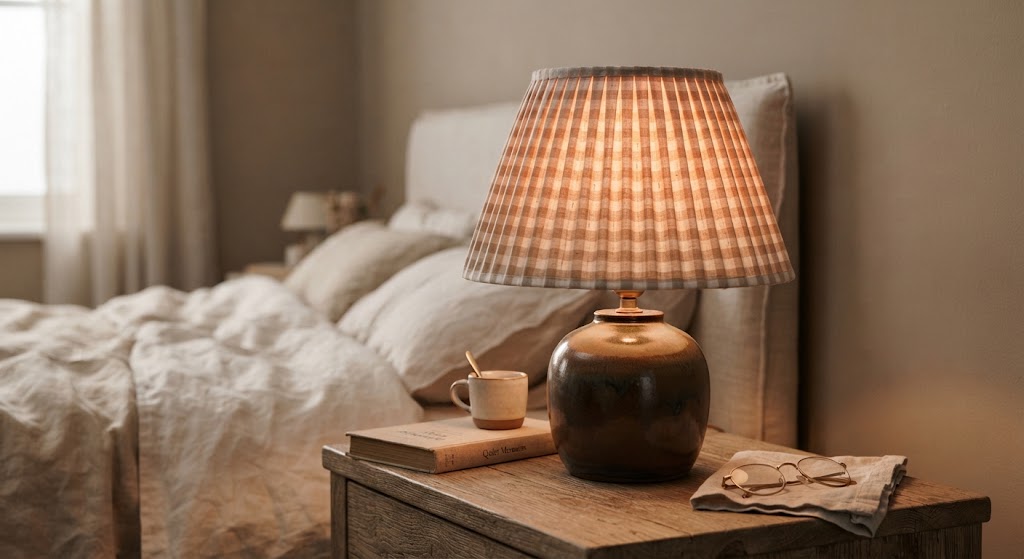
Cut a long strip of lightweight fabric (like vintage gingham) that is double the circumference of your shade. Fold and iron the top and bottom edges for a clean hem. Starting at the back seam of the shade, use a low-temp hot glue gun to attach the fabric. Fold the fabric back on itself every inch to create pleats, gluing them to the inside rim of the shade as you go around.
Frequently Asked Questions (FAQs)
What is the easiest DIY decor project for beginners?
The pressed botanical floating frames and the upcycled ribbed glassware are the easiest. Both require zero special skills, use minimal materials, and can be completed in under 30 minutes of active work time.
How can I make my DIY decor look expensive?
Focus on texture and matte finishes. Mixing baking soda into standard acrylic paint gives items a high-end ceramic look. Also, sticking to neutral, earthy tones (like taupe, terracotta, or off-white) helps handmade items look like they came from a boutique.
Is air-dry clay waterproof?
No, standard air-dry clay is not waterproof or food-safe. If you make a bowl or vase, it should only be used for dry items like keys, jewelry, or dried flowers. You can add a water-resistant acrylic sealer, but it still won’t hold water like kiln-fired ceramics.