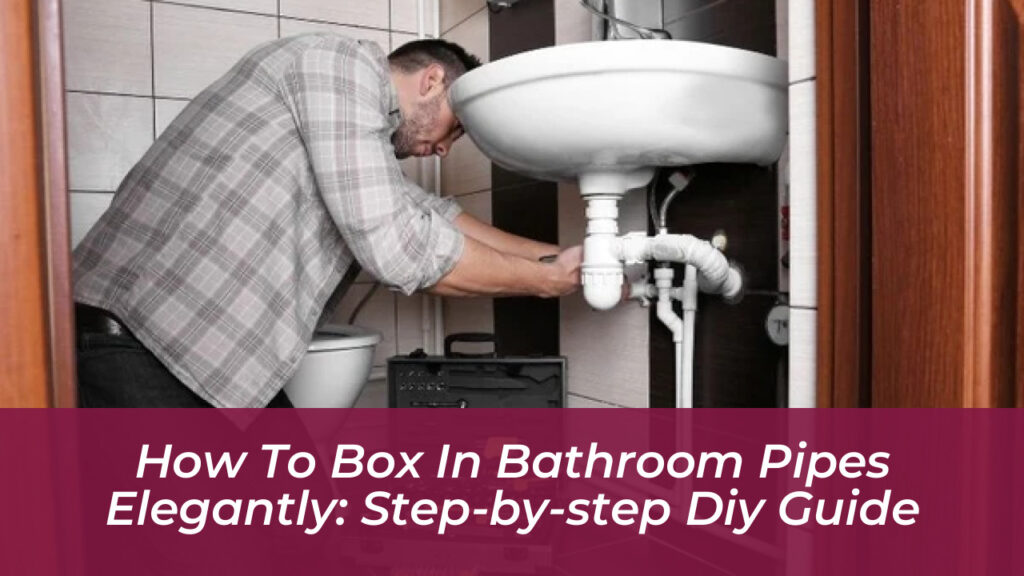
Exposed plumbing can instantly ruin the sleek, serene atmosphere of a well-designed bathroom. Whether it is a vertical stack running down from the ceiling or horizontal waste pipes hugging the floor, naked copper and PVC fittings draw the eye for all the wrong reasons. Learning how to box in bathroom pipes elegantly is one of the most effective ways to upgrade your space from a utilitarian room to a polished, high-end sanctuary. Done right, pipe boxing disappears into the room’s architecture, looking like an intentional design feature rather than a rushed fix.
Planning, Measuring, and Selecting Materials
Precision is the foundation of any successful carpentry project. Begin by measuring the protrusion of your pipes from the wall at multiple points-top, middle, and bottom. Plumbing lines are rarely perfectly plumb, especially in older homes, so always base your dimensions on the widest point, such as a pipe knuckle or joint.
Material selection requires careful thought, particularly in moisture-dense environments like bathrooms. Standard medium-density fiberboard (MDF) can swell and warp when exposed to high humidity, so always opt for moisture-resistant (MR) MDF or exterior-grade plywood. If you plan to tile over the boxing to match your shower surround, cement backer board or marine-grade plywood provides the ideal rigid substrate.
Essential Tools and Supplies
- Moisture-resistant MDF or plywood (9mm to 12mm thickness)
- CLS timber battens for the internal frame
- Spirit level and combination square
- Circular saw or jigsaw
- Cordless drill and appropriate wall plugs
- Countersunk screws and wood glue
- Decorators caulk or moisture-resistant silicone sealant
Constructing a Sturdy Timber Framework
The skeleton of your pipe enclosure determines its ultimate strength and straightness. Cut your timber battens to match the length of the run, accounting for any existing baseboards or skirting boards that might require neat notching.
When securing the vertical or horizontal battens to the wall, judge alignment carefully. While using a spirit level is standard practice, if the surrounding walls are significantly out of plumb, a perfectly vertical box can actually highlight the crookedness of the room. In such cases, running the boxing parallel to a corner or splitting the difference visually will yield a much cleaner result.
Drill pilot holes through the battens and anchor them firmly into masonry using wall plugs, or drive them straight into wall studs if you are dealing with drywall construction. For floor-level pipe runs, ensure your floor screws are short enough to avoid puncturing subfloor heating pipes or electrical cables.
Cutting and Fitting the Enclosure Panels
With your timber skeleton firmly anchored, measure the exact outer dimensions of the frame to cut your front and side panels. Precision here prevents unsightly gaps.
- Rip your plywood or MR MDF panels to size using a circular saw equipped with a fine-tooth blade for splinter-free edges.
- Apply a generous bead of wood glue to the face of the timber battens.
- Position your panels carefully against the frame, checking for squareness.
- Secure the panels using a brad nailer or countersunk screws spaced every 15 centimeters.
If you are tiling over the structure, ensure your panel joints land squarely on the center of the underlying wooden battens to provide maximum stability for the tile weight.
Maintaining Future Access for Plumbing Repairs
One of the biggest mistakes homeowners make when concealing plumbing is sealing the pipes away permanently. A minor joint leak can go unnoticed inside a sealed box until it causes extensive structural rot or mold growth.
Always incorporate an access point if the boxed area contains shut-off valves, isolator taps, or compression joints. You can achieve this discreetly by securing one panel with removable white plastic screw cups rather than permanent glue and nails. Alternatively, install a flush, paint-grade access hatch. When painting or caulking, simply run a utility knife lightly around the perimeter of the removable panel so it can be detached easily in the future without damaging your finishes.
Achieving a Seamless, Professional Finish
The transition from rough carpentry to a high-end finish is what separates amateur work from professional craftsmanship. Fill any screw heads or surface imperfections with high-quality wood filler, let it cure completely, and sand the surfaces down until silky smooth.
To blend the boxing seamlessly into your bathroom decor, consider these popular finishing methods:
- Paint Match: Prime the wood with a high-adhesion primer, then apply two coats of satin or semi-gloss paint matched directly to your wall color or trim.
- Skirting Integration: For low-level horizontal pipe runs, top your boxing flush with the height of your existing baseboards, wrapping the matching profile around the front edge of the box.
- Tile Cladding: Apply a flexible tile adhesive, press matching ceramic or porcelain tiles into place, use plastic spacers for uniform grout lines, and finish the internal corners with matching silicone.
Finally, run a continuous bead of decorators caulk or silicone along all wall-to-wood junctions. This prevents moisture ingress, blocks mold spores from colonizing the dark interior space, and delivers a crisp, shadow-free line that makes your newly boxed pipes look like they were built into the home’s original blueprint.