
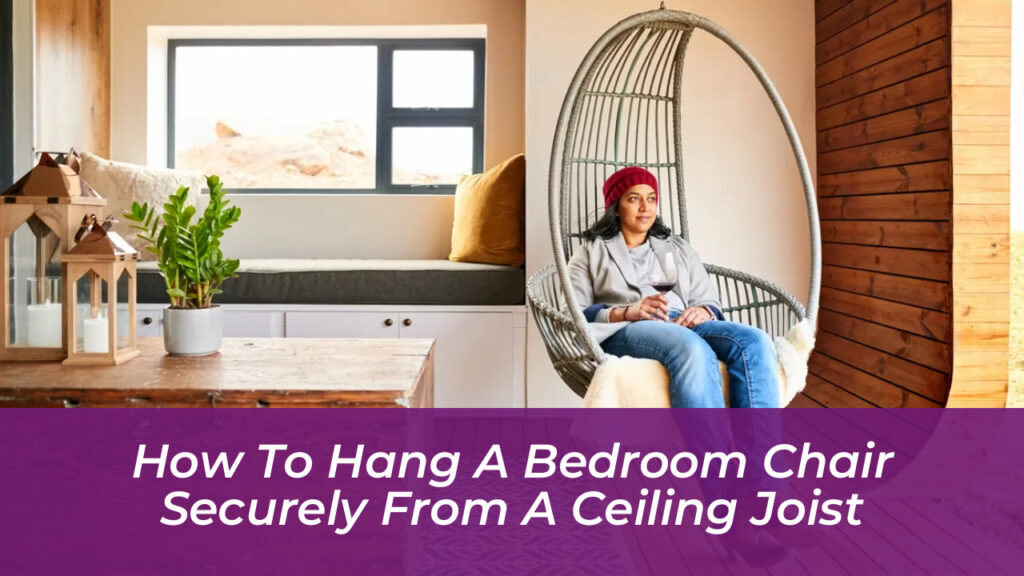
Transforming a bedroom into a cozy sanctuary often starts with rethinking vertical space. Suspending a reading nook swing or woven pod adds instant personality and a soothing motion that standard armchairs simply cannot match. Yet, the appeal of a floating seat comes with a critical engineering reality: safety depends entirely on what lies behind the plaster. Securing a suspended seat requires anchoring directly into the home’s overhead framing rather than relying on hollow surface materials.
Ceiling Joist Anatomy in Bedrooms
Ceiling joists are the horizontal structural framing members that hold up your ceiling and tie the walls together. In standard residential construction, these boards are typically two-by-six inches or larger, spaced sixteen inches apart center-to-center. When an adult or older child sits in a suspended seat, dynamic forces come into play. Every time you shift weight, climb in, or gently sway, you multiply the downward pull on the anchor point.
Attempting to mount a heavy fixture into drywall, plaster, or lath alone is a recipe for disaster. Surface materials possess zero structural rigidity under vertical shear loads; they will inevitably crumble, tearing a jagged hole in the ceiling and causing a sudden fall. A secure installation demands direct wood-to-metal contact with the centerline of a solid joist.
Tools and Hardware Checklist
Gathering the correct supplies before starting prevents mid-project trips to the hardware store and ensures a permanent, wobble-free fit. Look for components manufactured from galvanized or stainless steel to prevent rust and fatigue over time.
- Electronic Stud Finder: A model with deep-scan capabilities to detect wood density behind thick plaster or drywall.
- Power Drill and Bits: Standard twist drill bits slightly narrower than the shank of your lag screw for pilot holes.
- Heavy-Duty Eye Bolt or Lag Screw: Must feature a shank length of at least three to four inches and carry a working load limit exceeding 350 pounds.
- Locking Carabiners or Quick Links: Screw-gate or locking mechanisms prevent the suspension chain from accidentally unhooking during motion.
- Chain or Marine-Grade Rope: Rated for high dynamic loads and adjustable to achieve your desired seating height.
Step-by-Step Installation Process
1. Locate and Center the Joist
Press your stud finder against the bedroom ceiling and sweep slowly across the area where you want the seat to hang. Mark both edges of the joist with a pencil, then measure the distance between them to find the exact center. Mounting too close to the edge of a wooden beam risks splitting the material when you torque down the hardware. Keep your planned spot at least four feet away from surrounding walls and furniture to ensure proper clearance for a full swing radius.
2. Drill a Precise Pilot Hole
Never skip drilling a pilot hole into solid wood framing. Select a drill bit that matches the inner diameter of your lag screw-narrower than the outer threads but wider than the central solid core. Drill straight upward at a perpendicular angle to a depth roughly one-half inch shorter than the total length of your fastener. This step relieves internal wood pressure, preventing the joist from cracking while making it much easier to wrench the bolt home.
3. Install the Rated Anchor Hardware
Thread your heavy-duty eye bolt into the freshly drilled pilot hole by hand until the threads catch. Finish tightening the fastener using an adjustable wrench or socket set. Turn the eye bolt until the shoulder sits flush against the ceiling surface and the eye aligns in the direction of your intended swing. For angled or vaulted bedroom ceilings, swap a standard eye bolt for a shoulder eye screw designed to handle off-center loads without shearing.
4. Attach Suspension and Adjust Height
Connect your locking carabiner directly to the ceiling eye bolt. From there, attach your galvanized chain or synthetic rope. Suspend the chair frame and test the baseline height. The ideal configuration leaves the bottom of the seat roughly eighteen to twenty-four inches off the bedroom floor, allowing your feet to rest flat when sitting upright. Keep in mind that new rope and chain components often stretch slightly during their first week of use, so leave a little room for minor adjustments.
Testing and Weight Verification
Before any human sits in the new fixture, conduct a controlled load test. Place a heavy object weighing between fifty and one hundred pounds-such as a stack of heavy books or weighted fitness bags-into the seat for a few hours. This process helps seat the knots, settles the metal links, and proves the anchor can handle initial stress. Once verified, perform a monthly visual check of all carabiners, chains, and the ceiling connection point to ensure zero loosening or wear over time.