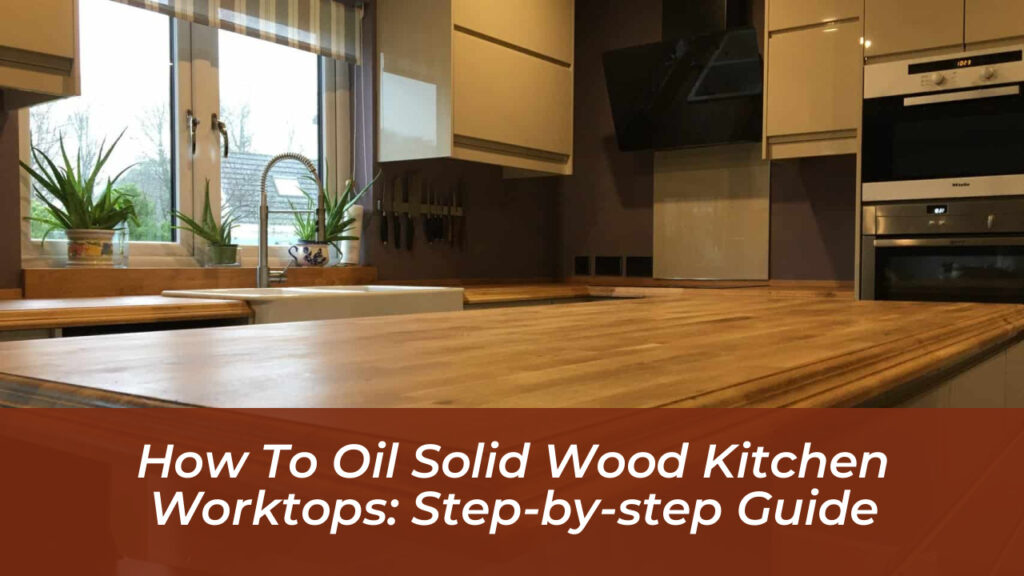
Solid wood kitchen worktops bring unmatched warmth, character, and natural elegance to a home. However, unlike laminate or quartz alternatives, timber is a living material that responds dynamically to its immediate environment. Without proper nourishment, daily exposure to moisture, heat, and friction will dry out the wood, leaving it vulnerable to stubborn stains and structural splitting.
Applying the correct oil forms a protective, water-resistant barrier deep within the grain while highlighting the rich patterns of the timber. Whether you are installing a brand new surface or restoring a tired, heavily used kitchen island, mastering the process of oiling timber worktops ensures your investment remains hygienic and visually stunning for decades.
Why Regular Oiling Matters for Wooden Countertops
Timber surfaces are naturally porous. When left unprotected, they readily absorb water, grease, and food acids, which quickly leads to permanent discolouration and dark moisture rings around sinks and taps. Routine oiling saturates the pores of the wood, blocking liquid ingress and preventing the surface from drying out and cracking.
Beyond structural health, maintaining an oiled finish preserves hygiene. A well-conditioned surface is smooth and free from microscopic cracks where bacteria can multiply. Committing to a simple maintenance schedule safeguards both the aesthetic value and the structural integrity of your kitchen counters.
Essential Tools and Materials You Will Need
Before beginning your project, gather the necessary supplies to ensure a smooth, professional workflow without frustrating interruptions.
- Orbital sander or manual sanding blocks: Essential for smoothing the surface and opening the wood pores.
- Sandpaper grit selection: 120-grit for initial smoothing and 240-grit for a polished, fine finish.
- High-quality wood oil: Choose between Danish oil, pure Tung oil, or specialized hardwax oils like Osmo Top Oil based on your desired finish and food safety requirements.
- Lint-free cotton cloths: Vital for wiping on the oil evenly and buffing away excess fluid.
- Mild detergent and clean microfiber cloths: For preliminary cleaning and dust removal.
Step-by-Step Guide to Oiling Solid Wood Worktops
Achieving a professional-grade finish requires patience, meticulous preparation, and strict adherence to drying times. Rushing the process often results in tacky, uneven surfaces that trap dust and debris.
1. Cleaning and Surface Preparation
Begin by clearing the entire worktop and giving the surface a thorough clean. Use a soft cloth dampened with warm water and a mild, non-abrasive detergent to remove grease, dust, and food residue. Avoid harsh chemical cleaners that can strip existing finishes or damage the timber. Once cleaned, allow the worktop to dry completely. Any trapped moisture prevents the oil from penetrating properly, leading to a patchy, uneven absorption rate.
2. Sanding the Timber
Sanding is a non-negotiable step that opens the wood fibres so they can accept the oil deeply. Attach a 120-grit abrasive sheet to your orbital sander. Working steadily in the exact direction of the wood grain, glide the sander across the surface to eliminate scratches, water marks, and minor dents.
After the initial pass, wipe away all accumulated dust using a tack cloth or a slightly damp cloth, then let the surface dry. Switch to a finer 240-grit sandpaper and repeat the sanding process along the grain. This second pass creates a silky-smooth tactile finish that is perfectly primed for oiling.
3. Selecting the Right Oil
Not all wood finishes serve the same purpose. Selecting the right product depends on your daily cooking habits and aesthetic preferences:
- Danish Oil: A popular blend of natural oils and drying agents that cures to a water-resistant, low-sheen satin finish. It is exceptionally easy to apply and suits almost all domestic hardwood species.
- Tung Oil: Extracted from tung tree nuts, this pure oil provides robust, puncture-resistant protection and a naturally rich luster without chemical additives.
- Hardwax Oils: Products like Osmo Top Oil combine natural plant oils and hard waxes, offering superior liquid repellency against red wine, coffee, and household juices.
4. Applying the First Coat
Pour a small amount of your chosen oil directly onto a clean, lint-free cloth or onto the worktop itself. Never flood the surface in one heavy pool. Working systematically in the direction of the grain, rub the oil deep into the timber. Pay particular attention to vulnerable cut edges around undermounted sinks, tap holes, and hob cutouts.
Allow the oil to penetrate the wood fibres for approximately 15 to 20 minutes. Crucially, take a dry, clean lint-free cloth and vigorously wipe away all excess oil remaining on the surface. Leaving surplus oil behind causes a sticky, tacky skin to form as it dries, which ruins the texture of the worktop.
5. Curing and Additional Coats
Allow the first coat to dry completely. Depending on ambient room temperature and humidity, this usually takes between 6 and 12 hours. Once dry to the touch, give the surface a gentle, light buffing with a fine sanding pad or very fine abrasive wool to knock down any raised wood fibers.
Apply a second and third coat using the exact same technique-rubbing thin layers along the grain and wiping away all excess after 20 minutes. New worktops or heavily neglected surfaces typically require three to four coats for optimal protection, while routine maintenance top-ups only need a single fresh application.
How Often Should You Re-Oil Wooden Worktops?
Routine maintenance prevents minor wear from escalating into deep, costly damage. As a general rule of thumb, re-oil high-traffic kitchen worktops every 6 to 12 months. Areas surrounding the kitchen sink and food preparation zones may require more frequent attention.
A simple visual test determines whether your worktop needs immediate care: splash a few drops of water onto the timber. If the water forms tight, distinct beads, the protective barrier is intact. If the water flattens out, darkens the wood, or absorbs within a minute, the protective layer has worn thin, and it is time to apply a fresh coat of oil.
Troubleshooting Common Oiling Mistakes
Even experienced DIYers occasionally run into issues during the wood-finishing process. Knowing how to fix these common pitfalls saves time and frustration.
- Sticky or Tacky Surface: This occurs when excess oil was not wiped off promptly or when coats were applied too thickly. Remedy this by gently scraping away the gummy residue, cleaning the area with white spirit, letting it dry, and applying a much thinner coat.
- Dust Bumps in the Finish: Airborne dust settling during the drying phase creates a gritty texture. Lightly sand the affected area with 240-grit paper, wipe clean, and apply a fresh, thin layer of oil in a dust-free environment.
- Blotchy or Uneven Absorption: Caused by inconsistent sanding or failing to clean the wood properly prior to application. Sand the uneven patch back to bare wood, feathering the edges into the surrounding area, and re-oil the section uniformly.
Everyday Care Tips to Protect Your Investment
Maximising the lifespan of your timber worktops extends beyond scheduled oiling. Adopt these simple daily habits to keep your kitchen looking pristine:
- Wipe spills promptly: Never let standing water, vinegar, tea, or wine sit on the wood for extended periods. Blot spills immediately with a soft cloth.
- Use protective barriers: Always use chopping boards for food preparation to avoid knife gouges, and place trivets or cork mats under hot pans to prevent scorch marks.
- Choose gentle cleaners: Clean daily using warm water and a mild, pH-neutral soap. Avoid bleach, ammonia, and abrasive scouring pads that strip oil finishes instantly.
By investing a small amount of time into proper preparation, careful oiling technique, and consistent upkeep, your solid wood kitchen worktops will maintain their natural warmth and structural resilience for decades to come.