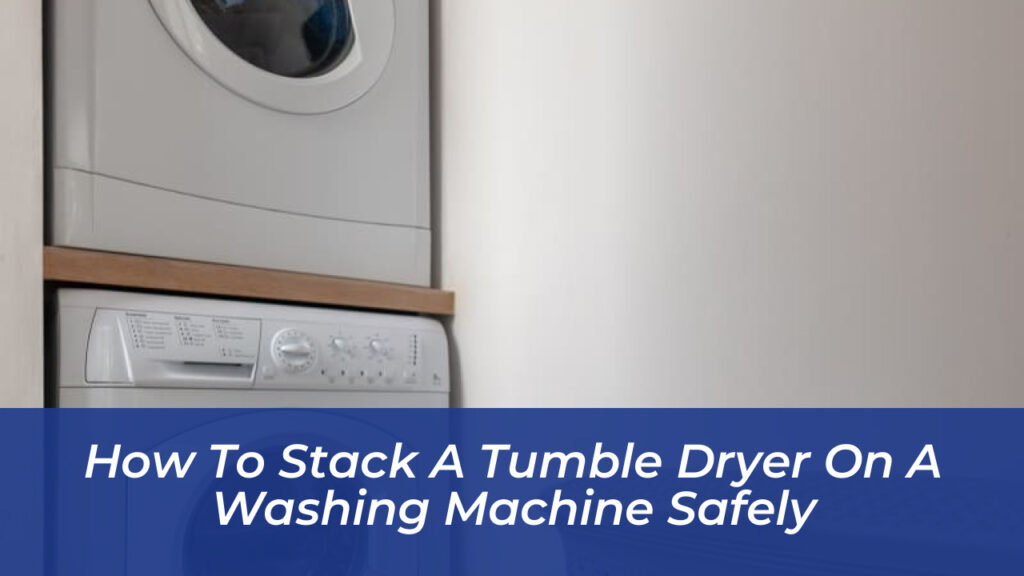
Making the most of a cramped laundry room or utility closet often means going vertical. Placing a tumble dryer on top of a washing machine is a smart way to free up floor space, but it requires careful attention to safety. Because a washing machine shakes violently during high-speed spin cycles, an improperly secured dryer can shift, vibrate loose, and become a serious hazard. Achieving a stable, reliable setup takes preparation, the right hardware, and a methodical approach.
Can You Stack Any Tumble Dryer on Any Washing Machine?
A common mistake is assuming any dryer can sit on any washing machine simply because their footprints match. In reality, appliance compatibility is what keeps a stacked tower stable. The washing machine must always sit on the bottom because it is much heavier-especially when filled with water-and relies on heavy internal counterweights to absorb shock. Trying to reverse this setup or mixing mismatched brands without manufacturer approval creates serious structural risks.
Reading the user manuals for both machines is the vital first step. Manufacturers design stacking hardware to fit specific cabinet shapes, screw placements, and weight distributions. While universal stacking kits exist for standard sixty-centimetre wide appliances, they require squared-off washing machine edges and compatible dryer feet to lock safely into place.
Essential Equipment Needed for a Secure Setup
Before lifting any heavy machinery, gather all necessary components. Improvising with wood blocks, rubber scraps, or generic straps without a proper frame is dangerous.
- Model-Specific Stacking Kit: Includes brackets, screws, and often a handy pull-out shelf for folding clothes.
- Spirit Level: Ensures the base appliance rests completely flat on the floor.
- Anti-Slip Pads: Placed under the washer corners to absorb vibration and stop sliding.
- Safety Fastening Strap: A heavy-duty ratchet belt that binds both machines together securely.
- A Second Person: Tumble dryers weigh between forty-five and sixty kilograms, making solo lifting unsafe and risky for your back.
Step-by-Step Guide to Stacking Your Laundry Appliances
Taking your time prevents dents in the appliance housing and ensures the tower stays solid through years of laundry days. Follow these sequential steps for a secure installation.
1. Level the Washing Machine
A leaning tower amplifies vibration and wears out parts prematurely. Place a spirit level across the top of the washing machine. Adjust the threaded feet underneath until the bubble rests right in the center. Press down on each corner; the machine must stay completely rigid without rocking.
2. Clean and Prepare the Surfaces
Wipe down the top of the washing machine and the base of the dryer to remove dust, lint, or greasy residue. If your stacking kit includes anti-slip adhesive strips or foam dampeners, stick them to the marked corners of the washing machine top plate now.
3. Install the Stacking Frame
Position the stacking frame onto the washing machine following the manual’s guidelines. Some kits require drilling pilot holes and securing brackets with short screws, while others snap into place along the outer edges. Check that the frame sits centered and level before moving on.
4. Lift and Position the Tumble Dryer
Adjust the dryer feet to the height specified by the manufacturer-you often need to remove the standard feet entirely so the chassis drops securely into the stacking bracket’s lip. With at least two people lifting from the lower frame, never by the door handle or control panel, carefully hoist the dryer and guide it straight down into the stacking groove.
5. Secure and Test the Setup
Fasten any secondary locking brackets, snap-on covers, or safety straps included in your kit. Plug the power cords back in and check the hoses, making sure nothing gets pinched or stretched. Run a quick rinse cycle on the washing machine to watch how the stack handles the spin cycle, then test the dryer afterward.
Crucial Maintenance Tips for Stacked Laundry Units
Once your appliances are safely stacked, routine upkeep protects your investment and prevents accidents. Clean the dryer lint filter after every single load to keep airflow strong and reduce fire risks. Every few months, check the brackets and screws on the stacking kit to make sure nothing has vibrated loose. Finally, take a quick look behind the unit to ensure the water supply hoses and dryer exhaust ducting remain clear and unkinked.