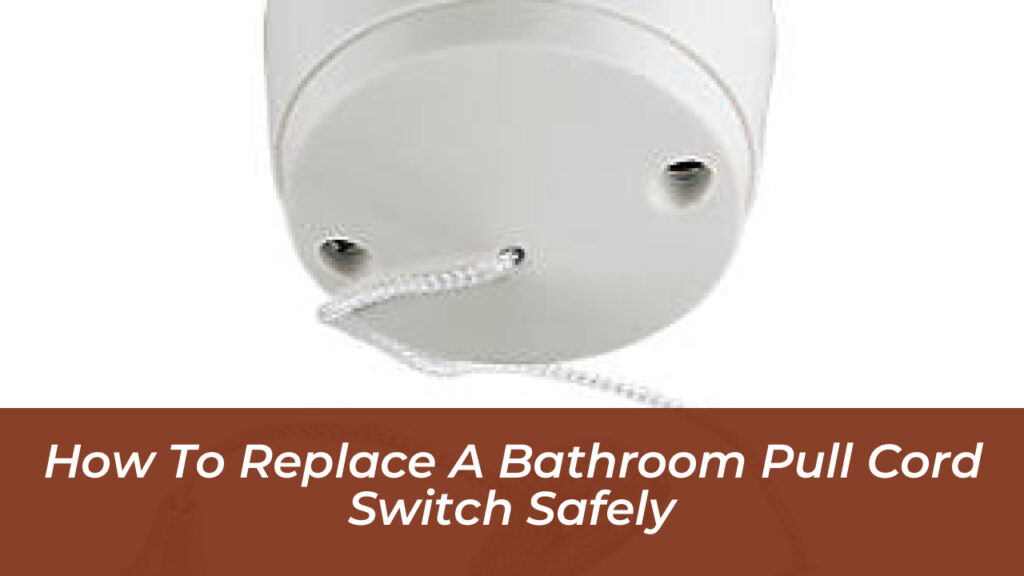
Dealing with a faulty or broken bathroom pull cord light switch can quickly become an irritating household nuisance. Whether the nylon cord has snapped cleanly off, the internal spring mechanism has worn down from years of daily use, or the unit has simply stopped making reliable electrical contact, replacing it is a remarkably straightforward project. Because bathrooms combine moisture and electricity in close proximity, understanding how to execute this repair safely while adhering to building requirements protects both your home and your peace of mind.
Why Bathrooms Require Ceiling Pull Cord Switches
In many homes, bathrooms feature a ceiling-mounted pull cord switch rather than a traditional wall-mounted rocker. This design choice is not merely aesthetic; it is a critical safety measure governed by strict electrical standards. Water and electricity create a hazardous mix. If you touch a standard wall switch with wet hands coming straight out of the shower or bath, you risk severe electric shock.
By placing the operating switch on a ceiling-mounted cord made of non-conductive plastic or nylon, direct physical contact with live electrical components is eliminated. Even with wet hands, handling the insulated cord poses no electrocution risk. Building safety regulations place strict zonal requirements around baths and showers, completely prohibiting standard switches within close splashing distance while permitting properly rated ceiling pull units.
Gathering Your Tools and Materials
Before you climb any ladders or touch a single wire, ensure you have the correct replacement hardware and basic hand tools assembled. Attempting this job with improvised equipment wastes time and introduces unnecessary risk.
- Replacement 6A Pull Cord Switch: Ensure you purchase a standard 6-amp lighting model. Never install a high-amp shower isolator switch (45A) onto a standard lighting circuit.
- Screwdrivers: A combination of a flathead and a Phillips screwdriver matching your terminal and cover screws.
- Non-Contact Voltage Tester: An essential safety tool to confirm absolute zero voltage before handling wires.
- Step Stool or Ladder: Provides a stable platform so you do not strain while working overhead.
- Wire Strippers & Electrical Pliers: Helpful for trimming and preparing fresh copper ends if conductors are oxidized.
- Green-and-Yellow Sleeving: Required to properly insulate any exposed earth wires.
Step 1: Isolate and Confirm Dead Power
Safety remains your absolute priority during any electrical intervention. Locate your home consumer unit or fuse box and switch off the specific circuit breaker controlling the bathroom lights. If the circuit directory is poorly labeled, switch off all lighting circuits to guarantee complete isolation.
Return to the bathroom and click the pull cord several times. The light must remain off. To remove all doubt, hold your non-contact voltage tester close to the switch housing and incoming cables. Only proceed once the device verifies that zero electrical current runs through the circuit.
Step 2: Remove the Old Switch Cover
Most modern pull cord switches feature either two visible retaining screws on the outer faceplate or a twist-and-turn mechanism where you rotate the entire plastic cover anti-clockwise to unlatch it. Loosen these screws or twist the housing gently while supporting the unit with your free hand.
Lower the cover carefully. Because cables routed through ceiling voids are often short and stiff, avoid letting the unit dangle by its wiring, as this can strain or crack older cables.
Step 3: Document the Existing Wiring Configuration
Before you loosen any terminals, take a clear, well-lit photograph of the wiring setup with your smartphone. Older properties might feature matching wire colors, while newer installations use standardized modern color coding. Documenting the exact layout prevents confusion later.
In a standard single-pole 6-amp lighting switch, you will typically encounter:
- Incoming Line (Live): Usually brown (or older red), bringing power from the consumer unit.
- Switched Line Out: Carries current from the switch directly to the bathroom light fixture.
- Neutral Loop: Sometimes present in older loop-in wiring configurations.
- Earth Conductor: Bare copper wire requiring protective green-and-yellow sleeving.
Step 4: Disconnect the Old Unit
Using your flathead screwdriver, loosen each terminal screw holding the conductors in place. Gently slide the wires out of their ports. If stubborn, wiggle them slightly without bending or scoring the copper core. Unscrew the mounting baseplate from the ceiling dry-lining box or wooden joist, and discard the faulty switch entirely.
Step 5: Prepare and Connect the New Switch
Open your new pull cord switch housing according to the manufacturer instructions. If the copper ends of your ceiling wires appear tarnished or oxidized, strip back 8 to 10 millimeters of insulation to expose fresh, clean metal.
Match your photograph and wire the new switch base:
- Insert the incoming live wire into the terminal marked COM (Common).
- Insert the switched live wire into the terminal marked L1.
- Ensure any bare copper earth wire is fully covered in green-and-yellow PVC sleeving and secured firmly to the dedicated earth terminal on the baseplate.
Tighten every terminal screw securely. Tug gently on each individual conductor to guarantee it cannot slip out under tension.
Step 6: Mount the Switch and Test Your Work
Carefully fold the wires back up into the ceiling void, taking care not to pinch insulation against sharp edges. Align the new baseplate with your existing ceiling screw holes and drive the screws home until the unit sits flush against the ceiling without rocking or spinning.
Return to the consumer unit and flip the lighting circuit breaker back to the On position. Step back into the bathroom and pull the cord. The light should click on crisply on the first pull and switch off completely on the second.
If the light fails to illuminate, immediately switch the power back off at the breaker, re-examine your photograph, and verify that the conductors are seated deeply and tightened properly inside the COM and L1 terminals. By working methodically and prioritizing safety, you have successfully restored a vital fixture while saving time and professional call-out fees.